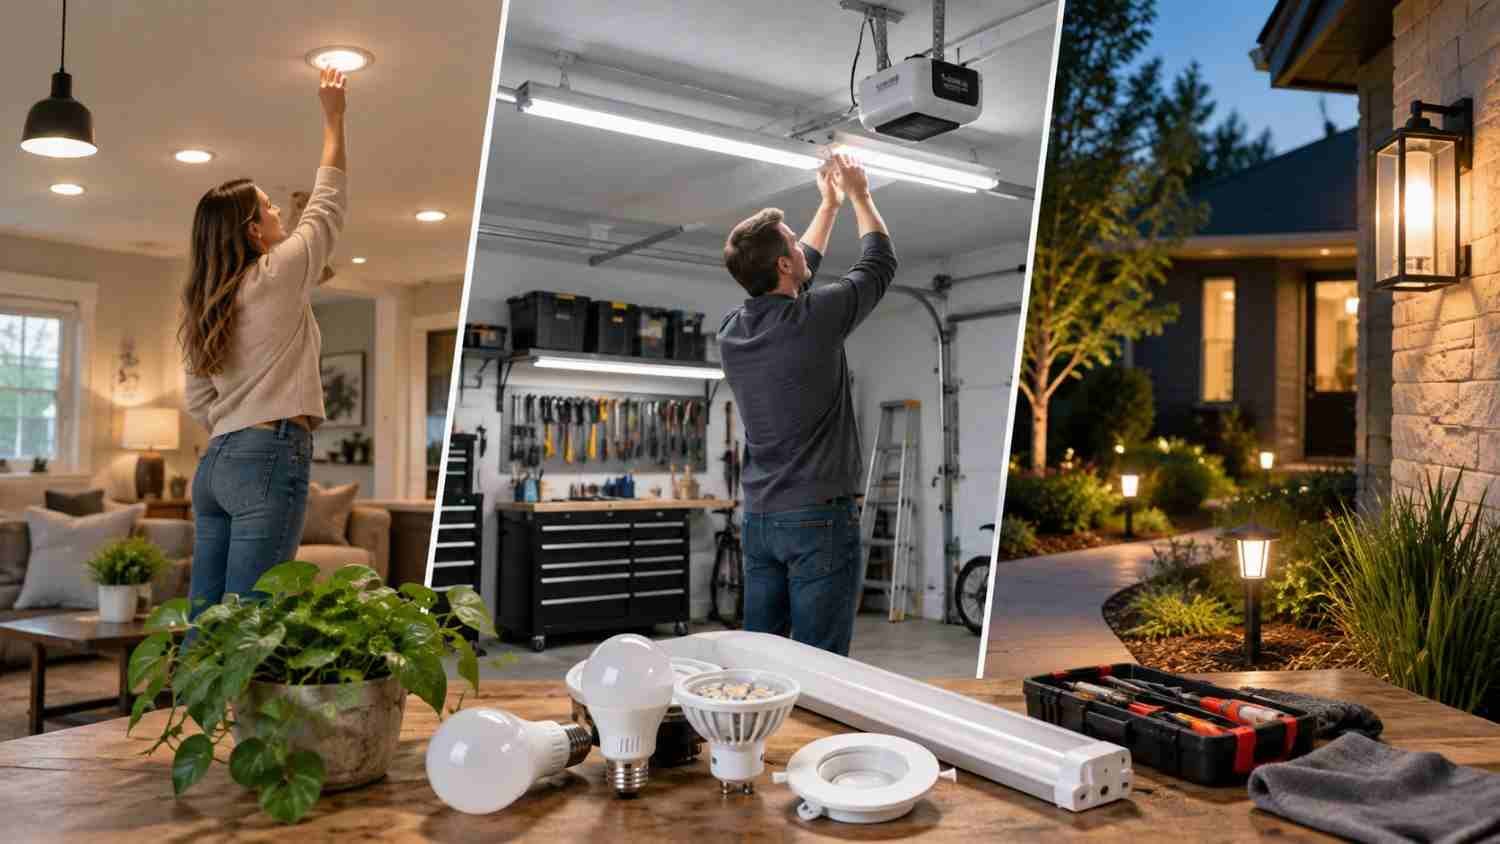
I used to think LED lighting was one of those household upgrades I could install and forget. After living with LEDs around the home, I noticed the fixtures that stayed reliable were usually the ones that received some attention.
I also realized that maintenance is rarely about complicated electrical work. Most useful habits are simple: keep lenses clean, watch for unusual behavior, protect outdoor fixtures from moisture, and address small problems early.
Why LED Lights Still Need Maintenance
LEDs generally last far longer than traditional incandescent bulbs, but long life does not mean zero maintenance. An LED fixture can include the light source, driver, housing, optics, controls, and electrical connections. Any of those parts can affect performance.
Dust can reduce usable light, heat can stress electronics, and moisture can damage outdoor components. Light output can also decline gradually rather than ending with a burnout. An occasional inspection makes sense even when a fixture still turns on.
The goal is not to constantly work on your lighting. It is to notice changes early.
Start With Simple Cleaning and Inspection
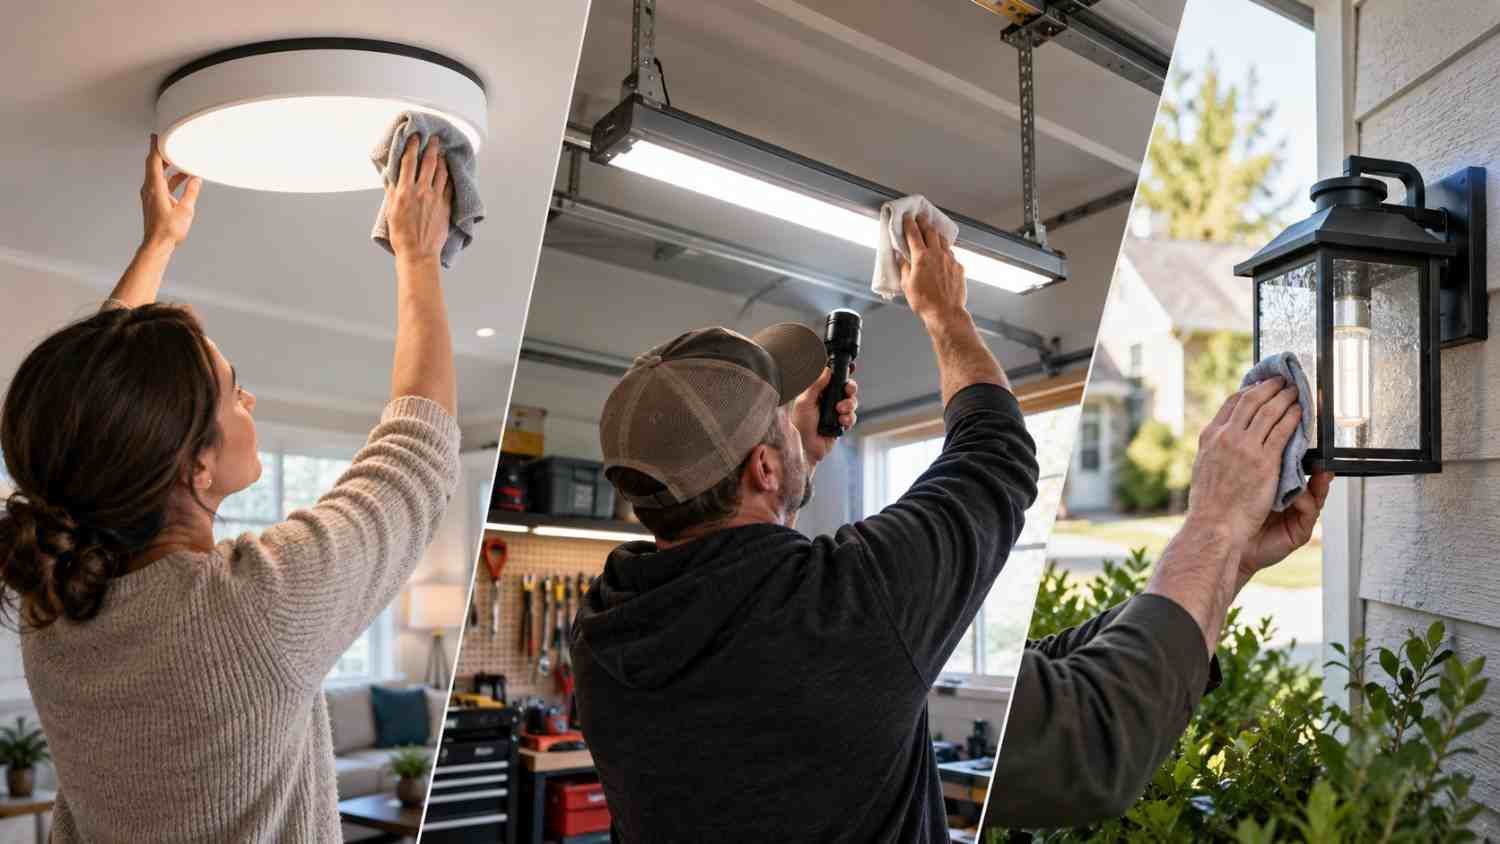
For indoor fixtures, begin with cleaning. Turn the fixture off and allow hot components to cool before wiping accessible surfaces with a soft, dry microfiber cloth. For removable covers, follow the manufacturer’s cleaning instructions rather than spraying cleaner directly onto the fixture.
Look at the lens, trim, housing, and mounting point while you clean. A dusty lens can make a room seem dimmer even when the LED works normally. Garages and utility spaces may collect grime faster than bedrooms.
Cleaning is also a chance to notice cracks, loose hardware, discoloration, or other changes.
Give Heat and Drivers Some Attention
LED electronics still need suitable operating conditions. Poor ventilation, an unsuitable enclosure, or excessive heat can stress the driver and other components. Thermal conditions can also influence LED performance and useful life.
In a garage, avoid crowding shop lights with stored items or other materials that restrict airflow. If a fixture becomes unusually hot, dims, flickers, or shuts down and later comes back on, do not assume a new bulb will solve everything.
With integrated fixtures, keep vents, heat-dissipating surfaces, and surrounding space clear.
Treat Flickering as a Clue
Flickering deserves more attention than a simple bulb swap. Sometimes the cause is an aging lamp or poor connection. In other cases, the dimmer, driver, fixture, or electrical supply may be involved.
If flickering happens only while dimming, check whether the LED and dimmer are compatible. Not every LED works properly with every dimmer. If it happens at full brightness, test a known-good compatible bulb when practical and inspect the fixture for obvious problems. Repeated symptoms that remain after basic checks are a reason to investigate the circuit or fixture.
A useful next step is this lighting circuit troubleshooting guide, especially when the symptom seems connected to more than one light.
Outdoor Fixtures Need More Attention

Outdoor LEDs deal with rain, sprinklers, humidity, temperature swings, sunlight, insects, and dirt. Their longer service life means cleaning can easily be overlooked. Outdoor lighting can accumulate dirt and debris that gradually affects useful light output.
Check that covers, seals, and access points are properly closed after maintenance. Look for corrosion, cracked plastic, cloudy lenses, standing water, or deteriorated gaskets. Keep spider webs and debris away from sensors and lenses because even a small obstruction can affect lighting coverage or motion detection.
Outdoor wiring deserves a visual check too. Cracked insulation, exposed conductors, damaged conduit, or loose connections should not be treated as ordinary cleaning tasks. If wiring appears damaged, switch off the appropriate power source and have a qualified electrician assess it.
Build a Routine That Fits the Space
You do not need a complicated maintenance calendar. A quick visual check every few months is reasonable for many household fixtures, while outdoor and garage lighting may deserve more frequent attention because those environments are harder on equipment.
A practical routine can include:
- Clean accessible lenses and covers when they become visibly dirty.
- Check outdoor seals, housings, and mounting hardware after severe weather.
- Watch for flickering, buzzing, color changes, reduced brightness, or intermittent operation.
- Keep sensors, vents, and heat-dissipating surfaces clear.
For areas, tie the check to seasonal cleaning so it becomes a habit rather than a task to remember. Outdoor fixtures may also need checking after storms or periods of heavy rain. When upgrading outdoor controls, proper placement matters as much as the fixture. If you are considering installing motion sensor outdoor lights, keep the sensor’s field of view clear of branches and objects that can trigger it repeatedly. The right interval depends on the fixture, environment, and manufacturer’s instructions.
Know When Maintenance Is Not Enough
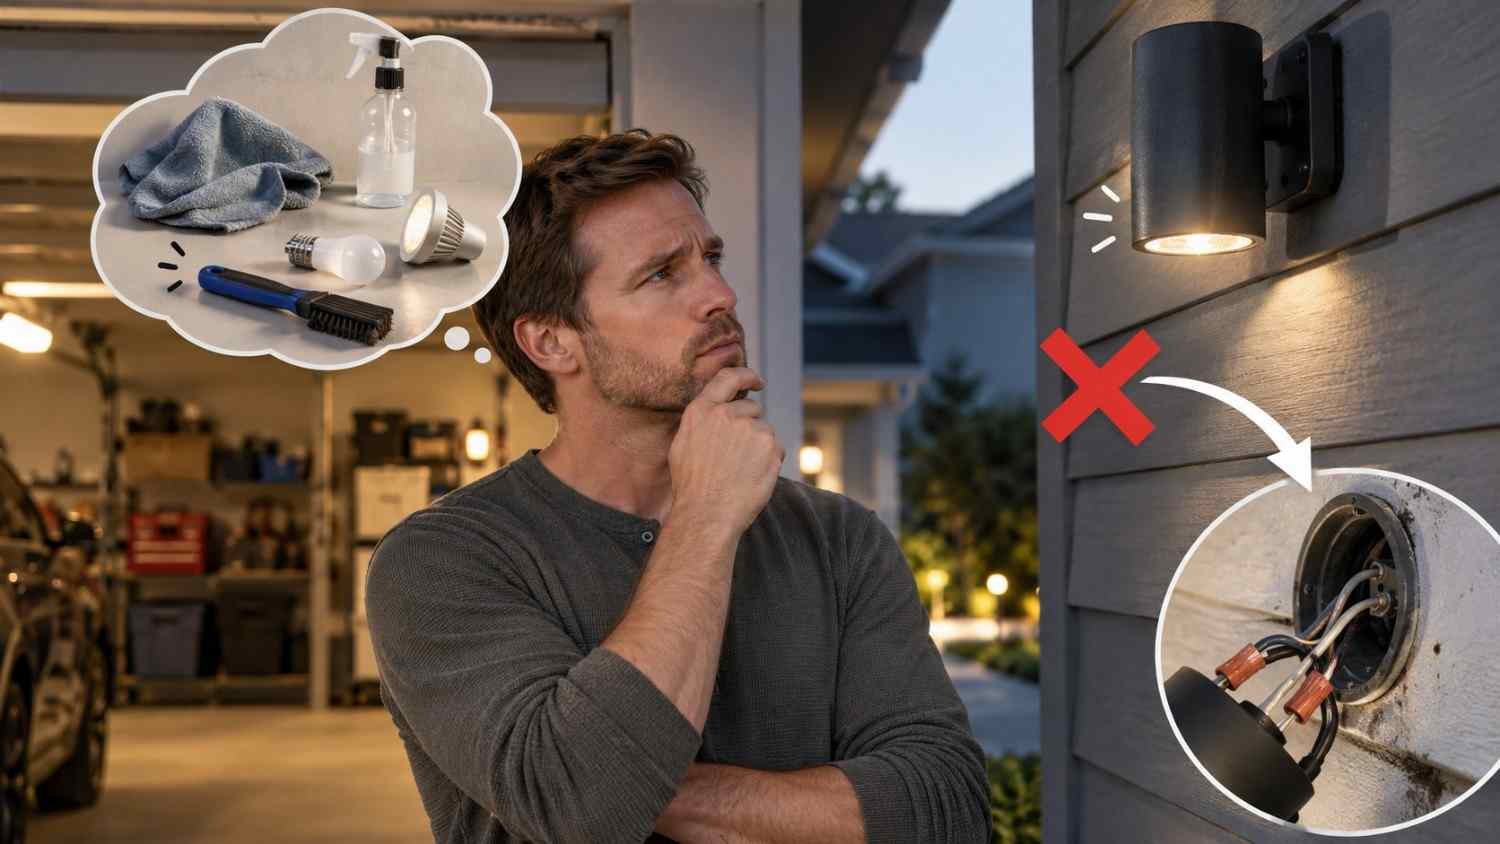
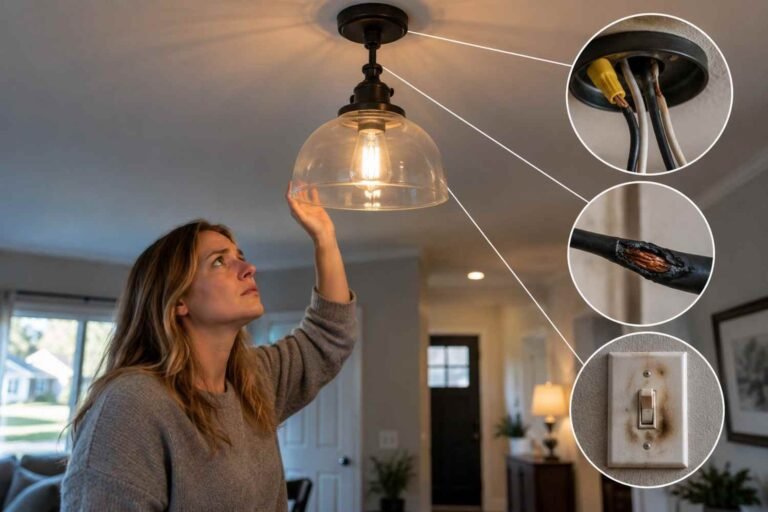
Some problems should not become a trial-and-error project. Burning smells, scorch marks, repeated breaker trips, exposed wiring, water inside an energized fixture, or persistent electrical symptoms deserve professional attention.
Replacement may make sense when an integrated fixture has a failed driver or LED module with no practical repair path. Check the warranty and documentation first.
The best LED lighting maintenance tips prevent unnecessary replacement while keeping safety first. Clean what you can safely access, observe changes, protect fixtures, and take electrical warning signs seriously.
The Habits Worth Keeping
Good lighting maintenance is mostly quiet, routine work. You wipe away dust, clear a sensor, notice that a fixture is behaving differently, or spot moisture before it reaches sensitive electronics. Together, they help preserve useful light and reduce surprises.
LED technology removes much of the frequent bulb-changing associated with older lighting, and that is a real advantage. It does not remove the need to pay attention. A few minutes of inspection can help your home’s lighting stay dependable.
FAQs: LED Lighting Maintenance Tips for Homes, Garages, and Outdoor Areas
1. How often should LED lights be cleaned?
Clean accessible fixtures whenever dust, grease, insects, or debris becomes noticeable. Garages and outdoor fixtures may need attention more often than clean indoor rooms.
2. Can dust make LED lights look dimmer?
Yes. Dirt on lenses, covers, and optical surfaces can reduce useful light reaching the room or outdoor area, even when the LED itself is still operating.
3. Why do LED lights flicker?
Flickering can come from an incompatible dimmer, loose connection, failing driver, unsuitable product, or another electrical issue. The timing and conditions can help narrow down the cause.
4. When should an electrician inspect an LED light?
Seek professional help for damaged wiring, repeated breaker trips, burning smells, visible electrical damage, water intrusion around energized components, or problems that continue after basic checks.