
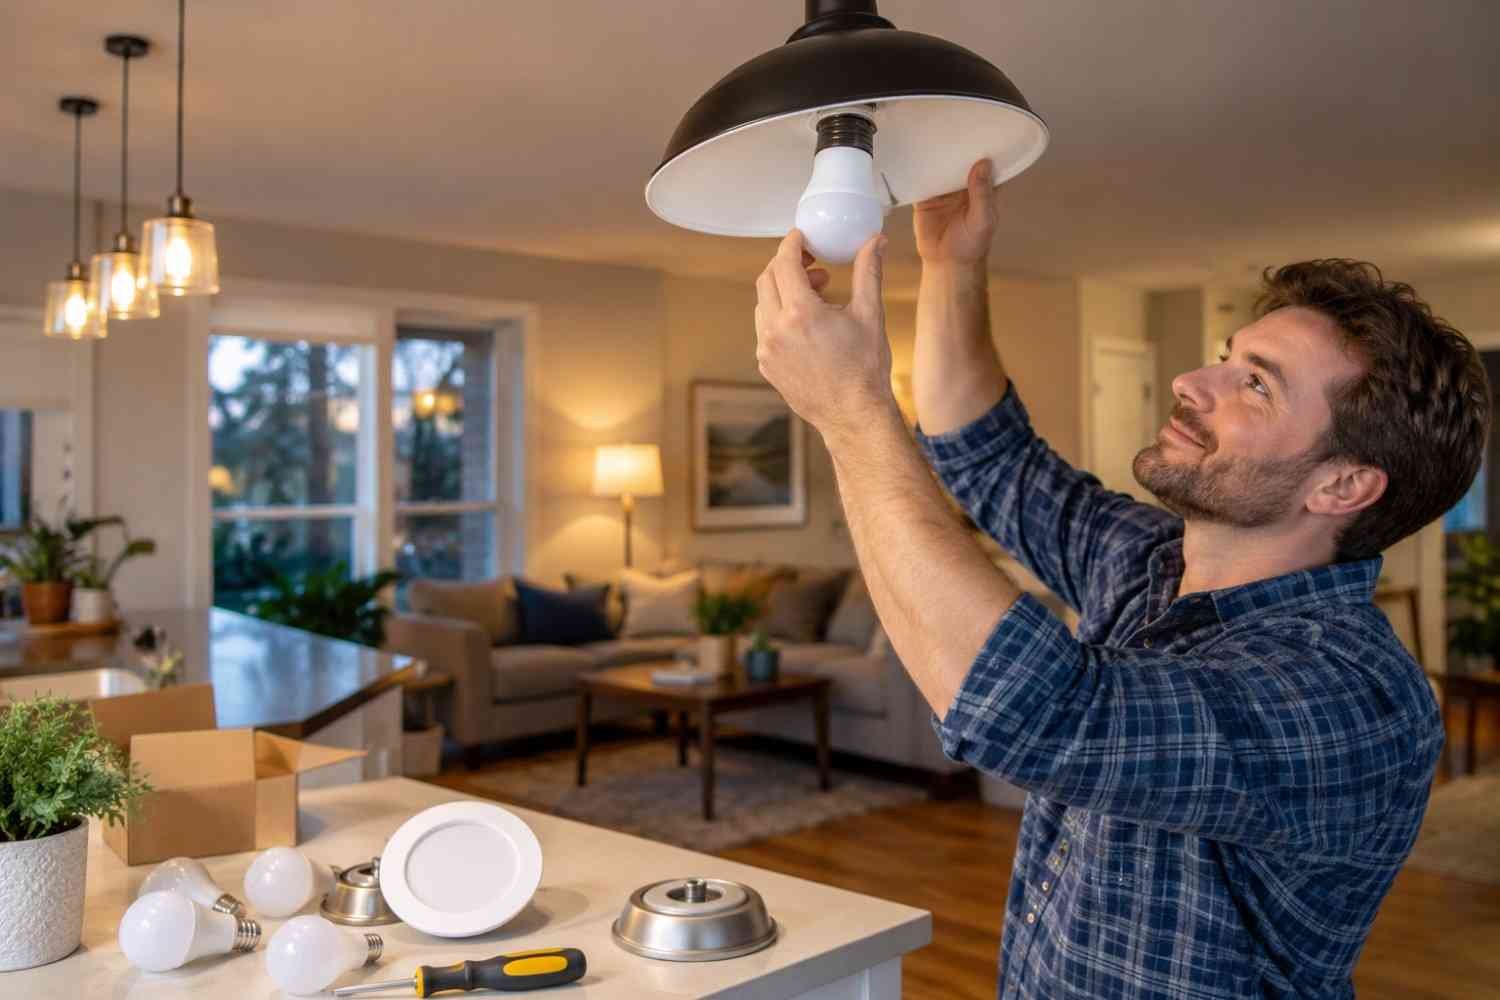
I used to assume that modernizing an old light fixture meant replacing the whole thing, especially when the fixture looked dated or inefficient. After comparing LED options, I found many fixtures could stay in place while the light source changed. That made upgrades feel far more manageable.
The real trick was matching the LED to the fixture, socket, ballast, dimmer, and environment. When those pieces worked together, an upgrade could improve brightness, appearance, and efficiency without rewiring.
Start With the Fixture You Already Have

The basic idea behind how to upgrade existing fixtures for modern LED lighting is simple: reuse hardware and replace what needs changing.
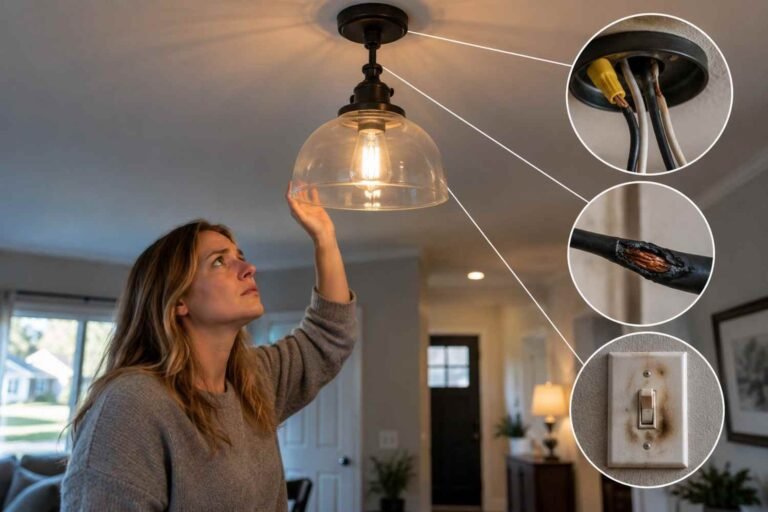
Before buying an LED, inspect the fixture’s condition, bulb type, socket, available space, voltage, and maximum wattage. Look for cracked sockets, loose connections, corrosion, damaged insulation, or overheating. A damaged fixture is not a good candidate for a simple LED upgrade.
For a healthy standard fixture, the simplest route is usually a direct-replacement LED bulb. A medium E26 socket can accept a compatible LED designed for that base, while smaller fixtures may use an E12 candelabra base. The replacement must match the fixture’s electrical and physical requirements, not merely look similar.
Choose Between a Bulb and a Retrofit Kit
A standard screw-in LED works well when the existing fixture already provides the shape and light distribution you want. Remove the old bulb, install the compatible LED, and the fixture can remain largely unchanged.
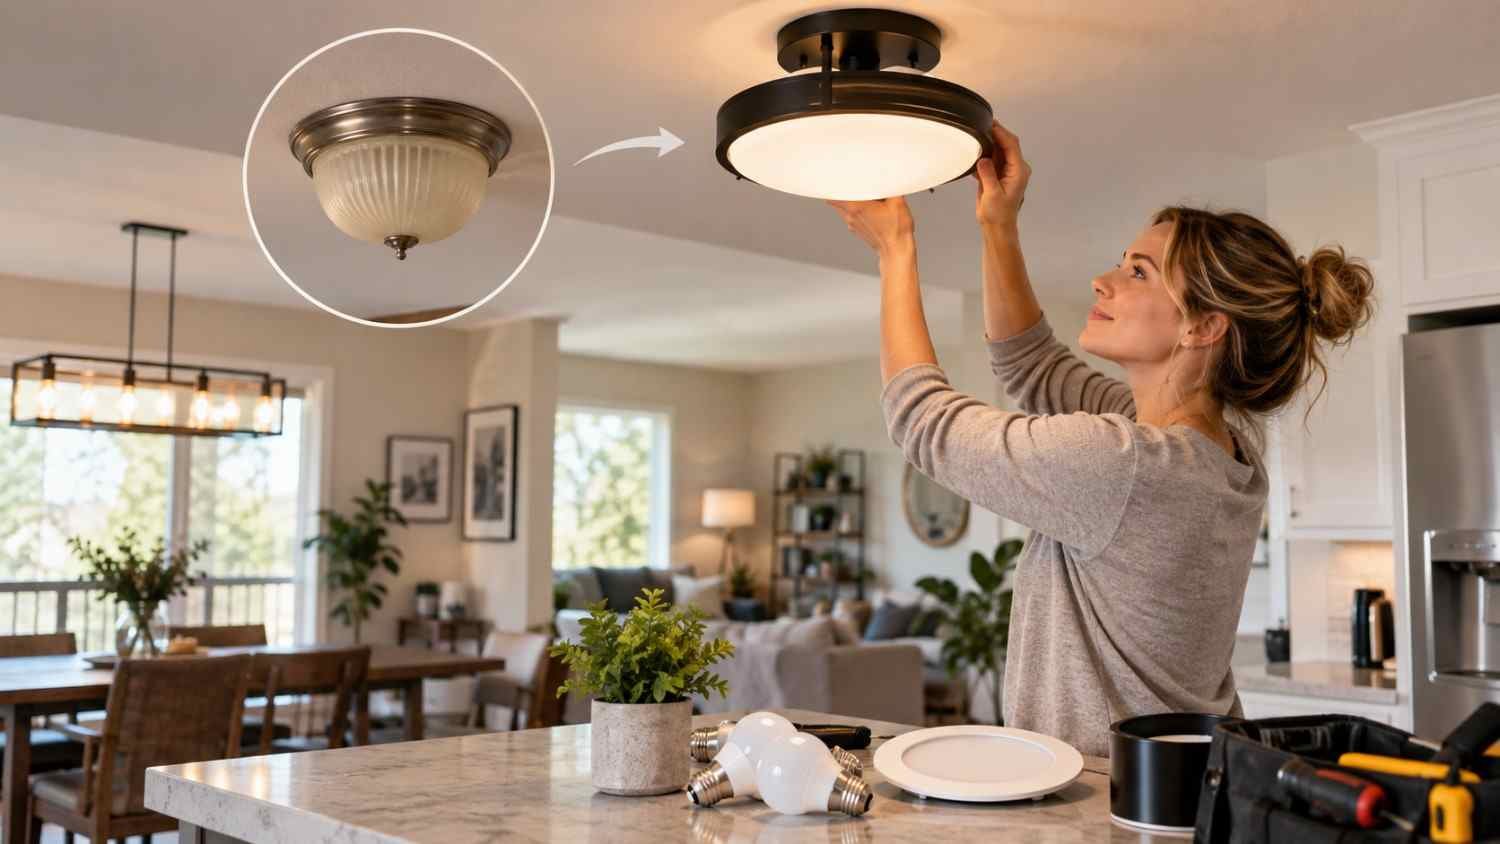
Retrofit kits make more sense when the old light source is part of the fixture’s appearance or construction. Recessed cans are a common example. An LED retrofit downlight can replace the old lamp and trim with a cleaner integrated module while using an adapter connected to the existing socket.
This can update the look without removing the recessed housing and may provide a more even beam.
Be Careful With Fluorescent Fixtures
Linear fluorescent fixtures require more attention because the ballast can affect LED compatibility. Some LED tubes are designed to work with an existing ballast, commonly called ballast-compatible or plug-and-play products. Others require the ballast to be removed or bypassed.
If avoiding rewiring is the goal, a ballast-compatible tube may be simplest. Never assume any T8 or T12 LED works with any ballast. Check compatibility for the exact ballast model before buying.
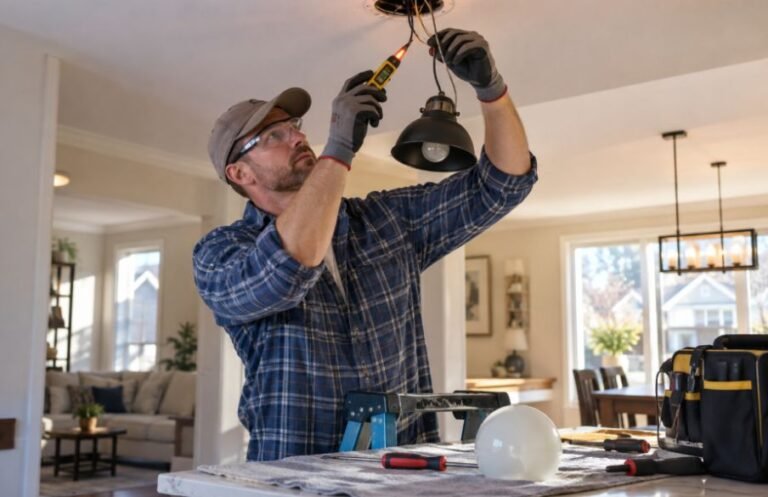
If a product requires line-voltage wiring changes, it is no longer a simple bulb swap. Follow instructions and local electrical requirements, and use a qualified electrician when needed.
Match the LED to the Fixture
Brightness is only one part of an upgrade. Compare lumens instead of choosing solely by wattage. Lumens measure light output, while watts measure energy use. LEDs can provide useful light with less power than incandescent sources.
Color temperature changes a room’s character. Warm white around 2700K suits bedrooms and living spaces, while 3000K to 4000K may suit kitchens, garages, offices, or utility areas. A higher CRI can make colors appear more natural.
A dimmable LED still needs to match the particular dimmer and electrical setup. Flickering, buzzing, limited dimming, or shutoff can indicate incompatibility.
Do Not Ignore Heat and Enclosed Fixtures
LEDs generally use less energy than incandescent lamps, but heat still matters. Trapped heat inside enclosed fixtures can shorten product life or affect performance.
For sealed globes or tight housings, choose LEDs approved for enclosed fixtures. Follow the product’s temperature and installation requirements.
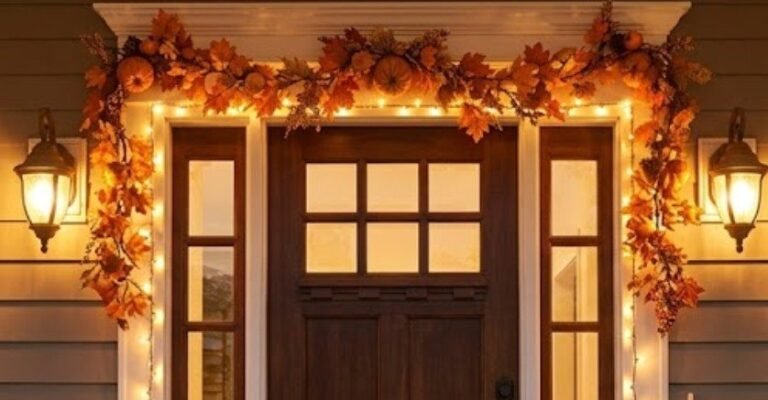
Outdoor fixtures need attention too. A damp or wet environment requires a product and fixture combination designed for those conditions. Water intrusion, corrosion, or damaged seals can be a reason to replace the fixture rather than retrofit it.
Upgrade More Than the Light Source





2 thoughts on “How to Upgrade Existing Fixtures for Modern LED Lighting Without Rewiring”