
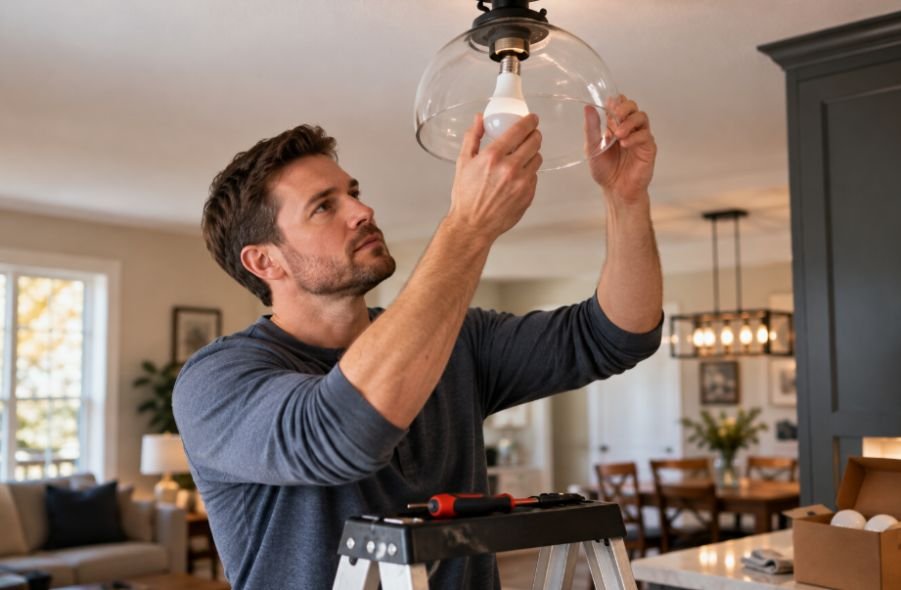
I used to think replacing a light bulb was one of those jobs that could not really go wrong. After a few installations, I realized the bulb itself is rarely the complicated part. The real trouble starts when the wrong voltage, dimmer, fixture rating, or installation method gets overlooked.
I also found that a little preparation makes LED light installation much easier. Checking the fixture first, shutting off electricity, and handling the bulb by its base can prevent avoidable damage. Once those habits become routine, installing LED lights feels less like guesswork and more like a straightforward household task.
Start With Compatibility Before Installation
The first step is identifying what you are actually installing. A standard screw-in LED replacement bulb is different from an LED strip, integrated LED fixture, or low-voltage puck light. The installation method depends on the system, so checking the product specifications and existing fixture is essential.
For replacement bulbs, compare the bulb’s voltage and base type with the fixture. Most residential lighting uses standard household voltage, but some fixtures use low-voltage systems such as 12 volts. A bulb designed for one voltage should not be installed in a fixture designed for another.
Wattage deserves attention, too. LED bulbs consume less electricity than incandescent bulbs, but the fixture can still have a maximum wattage or temperature rating. If the fixture is enclosed, use an LED specifically approved for enclosed fixtures. LEDs produce less heat overall than incandescent bulbs, but heat still affects electronics and can shorten the life of an LED driver.
Dimmer compatibility is another easy detail to miss. Older dimmer switches designed for incandescent lamps may cause LED bulbs to flicker, buzz, fail to dim properly, or behave inconsistently. Look for an LED marked as dimmable and confirm that the dimmer is compatible with LED loads.
Prepare the Fixture Safely
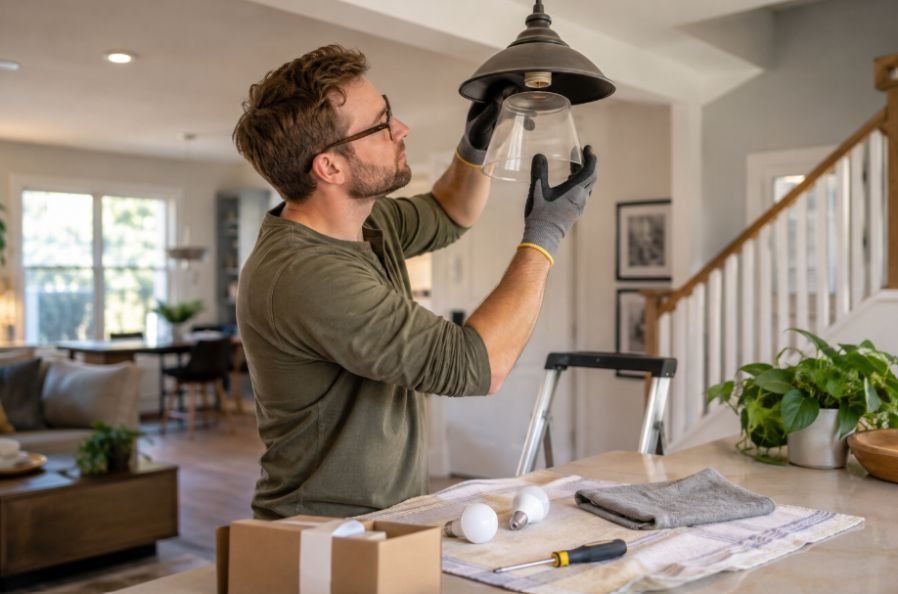
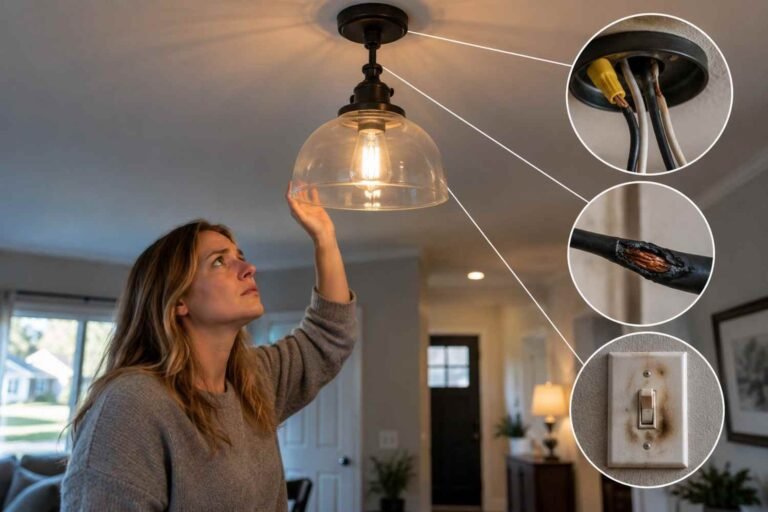
Before touching the bulb or socket, switch off the light and disconnect power at the circuit breaker when appropriate. A wall switch alone is not always enough protection because wiring can remain energized depending on how the circuit is configured.
For hardwired fixtures or unfamiliar electrical work, shut off the relevant breaker and verify that the circuit is actually de-energized with an appropriate voltage tester. If you are dealing with exposed wiring, a junction box, new circuit, or anything beyond a simple bulb replacement, local electrical requirements may apply, and a qualified electrician is the safer choice.
If you are replacing an incandescent or halogen bulb, give it time to cool completely. Some bulbs become extremely hot during normal operation, and grabbing one immediately after switching it off can result in a painful burn.
Keep the work area dry and stable. For outdoor or damp locations, confirm that the LED fixture or bulb has the appropriate rating for that environment rather than assuming any LED product is suitable.
If you are installing lighting outdoors, proper planning is especially important, so review this guide to installing motion sensor outdoor lights for placement and installation considerations.
How to Install LED Lights Correctly
Once compatibility and safety are covered, the physical installation is usually simple. Remove the old bulb by holding its base rather than squeezing the glass or plastic portion. If the bulb is difficult to remove, do not force it. A stuck base may require additional care to avoid damaging the socket.
For a standard screw-base LED bulb, line up the threads and turn the bulb gently in the correct direction. It should thread smoothly. Stop once it is snug. Overtightening can damage the socket, bulb base, or threads, while excessive pressure can crack components.
Some LED bulbs use pins, twist-lock bases, or other connection systems instead of screw threads. Follow the manufacturer’s installation instructions for those designs rather than trying to make them fit through force.
After installation, restore power and test the light. Check that it illuminates normally, responds correctly to the switch or dimmer, and does not flicker, buzz, or shut off unexpectedly. If something seems wrong, turn the power back off and investigate compatibility rather than repeatedly cycling the fixture.
Common Installation Mistakes to Avoid
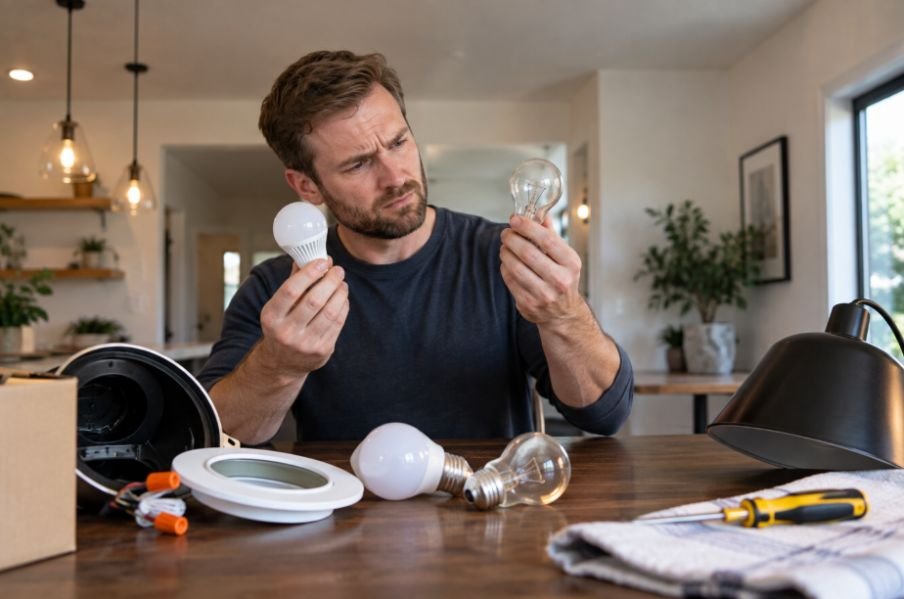
Many LED problems begin before the bulb ever turns on. The most common mistakes are surprisingly basic.
- Installing a bulb with the wrong voltage or base
- Using a non-dimmable LED on an incompatible dimmer
- Putting a non-enclosed-rated bulb inside a fully enclosed fixture
- Overtightening a screw-base bulb
- Handling a hot bulb immediately after use
- Ignoring moisture or outdoor exposure requirements
- Forcing a bulb or connector into a socket that does not match
- Working on exposed electrical wiring without proper knowledge or precautions
Another mistake is assuming that every LED product works the same way. LED strips, for example, may require a compatible driver, correct polarity, suitable connectors, and cutting only at marked locations. Connecting those components incorrectly can damage the strip or power supply.
Make the Installation Last
A successful LED installation is not simply one that turns on. The goal is reliable lighting that continues working without unnecessary heat, loose connections, flickering, or premature failure.
For screw-in bulbs, keeping the socket clean and avoiding excessive force is usually enough. For larger LED installations, pay closer attention to ventilation and heat dissipation.
Proper maintenance also helps preserve the efficiency and lifespan of your lighting system, so it is worth following a guide to maintaining energy-efficient lighting after installation.
Integrated fixtures and LED strips can perform poorly when electronics are trapped against insulating materials or installed in places that do not allow heat to escape.
If an LED repeatedly flickers, becomes unusually hot, or fails shortly after installation, replacing it with another identical bulb may not solve the problem. Check the fixture, dimmer, voltage, power supply, and connections. Persistent electrical issues are a reason to stop experimenting and have the circuit inspected.
Frequently Asked Questions
1. Can I install an LED bulb while the switch is off?
It is safer to turn off power at the circuit breaker when practical, especially if you are working with exposed wiring or an unfamiliar fixture. A wall switch does not guarantee that every part of the circuit is de-energized.
2. Why does my LED bulb flicker after installation?
Flickering can result from an incompatible dimmer, loose connection, unsuitable bulb, or electrical issue. Confirm that the LED is dimmable and compatible with the installed dimmer.
3. Can LED bulbs go in enclosed fixtures?
Only use bulbs specifically rated for enclosed fixtures when the housing is fully enclosed. Excessive heat can shorten an LED bulb’s operating life or damage its electronics.
4. Should an LED bulb be screwed in tightly?
No. Install it until the base is snug and makes proper contact. Overtightening can damage the bulb base, socket, or threads.
The Small Checks That Protect Good Lighting
Installing LED lights correctly is mostly about resisting the urge to rush. The actual replacement may take seconds, but checking voltage, fixture ratings, dimmer compatibility, temperature, and power status takes a little longer. Those checks protect both the lighting equipment and the electrical components around it. They also make troubleshooting much easier because you know the installation started with the right parts and a safe setup.
Good lighting should disappear into the background and simply work. Taking a few careful steps before switching it on is what helps make that happen.





3 thoughts on “How to Install LED Lights Correctly Without Damaging Your Fixtures”