
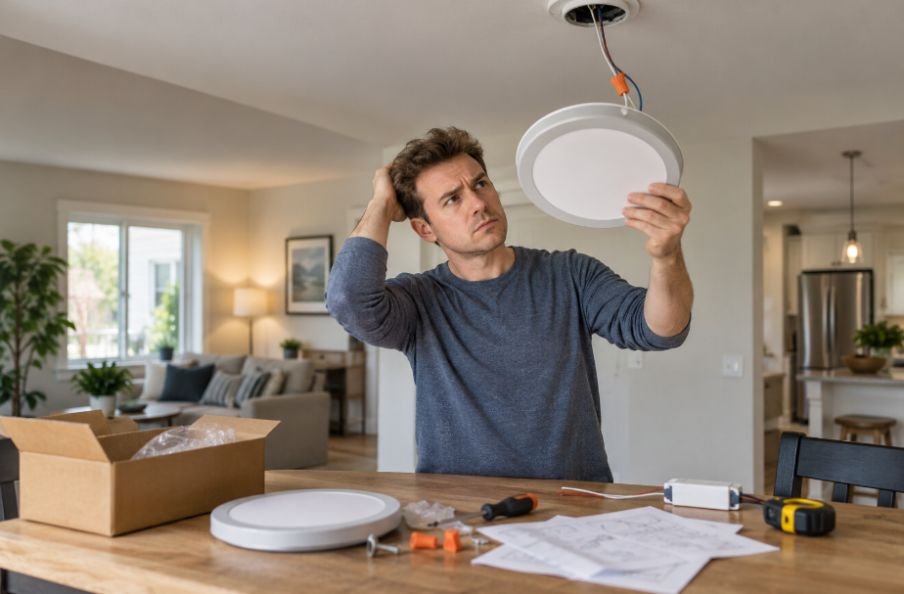
I have found that installing an LED fixture can look almost too simple at first. The instructions may seem straightforward, yet small details around mounting, wiring, heat, and compatibility can decide whether the light works reliably.
I started paying closer attention to these details after seeing how often a fixture that looked perfectly installed still had an avoidable issue. A light can turn on and still have a loose mount, incompatible dimmer, poor heat management, or wrong location rating. Those are the LED fixture installation mistakes homeowners often overlook.
The mistake can happen before installation begins
One common problem is choosing a fixture based mainly on appearance or price. Before buying, check its voltage, mounting method, dimming capability, location rating, and installation requirements. For recessed lighting, check whether the housing is rated for insulation contact. A Type IC fixture is designed for insulation contact, while a non-IC model may require clearance.
Color temperature deserves attention too. Mixing 2700K warm white with 5000K daylight in one visual area can make a room feel disjointed. Compare Kelvin ratings when several fixtures illuminate the same space.
Mounting is part of electrical safety
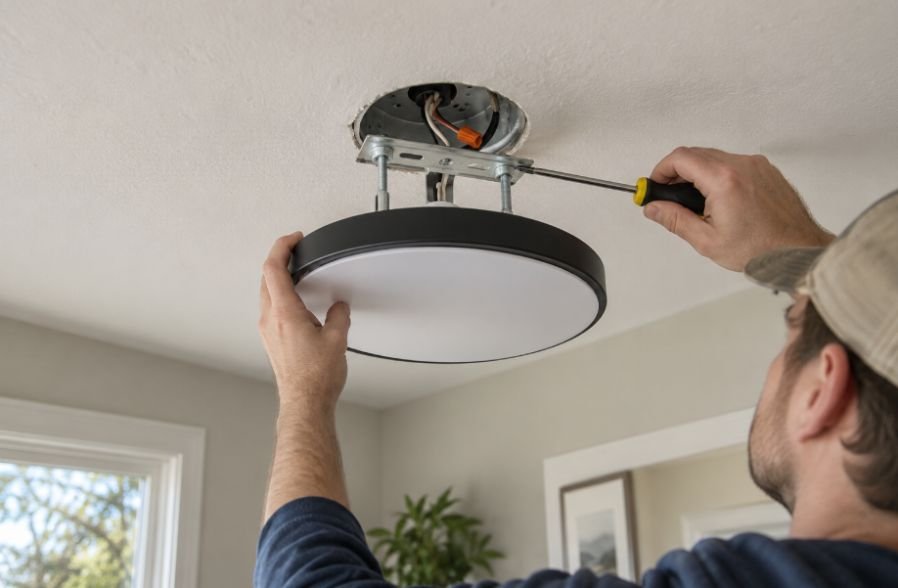
A fixture needs more than a neat appearance on the ceiling or wall. Heavy fixtures should be supported by an appropriate outlet box, structural member, or mounting system. Relying on drywall anchors when stronger support is required can leave the installation loose.
The mounting hardware and junction box should suit the installation. If the existing box is damaged or loose, it may need attention before the fixture goes up.
Before electrical work, switch off the circuit breaker and verify that the circuit is de-energized. If the wiring is unfamiliar, use a licensed electrician rather than guessing.
Wiring mistakes can hide behind a working light
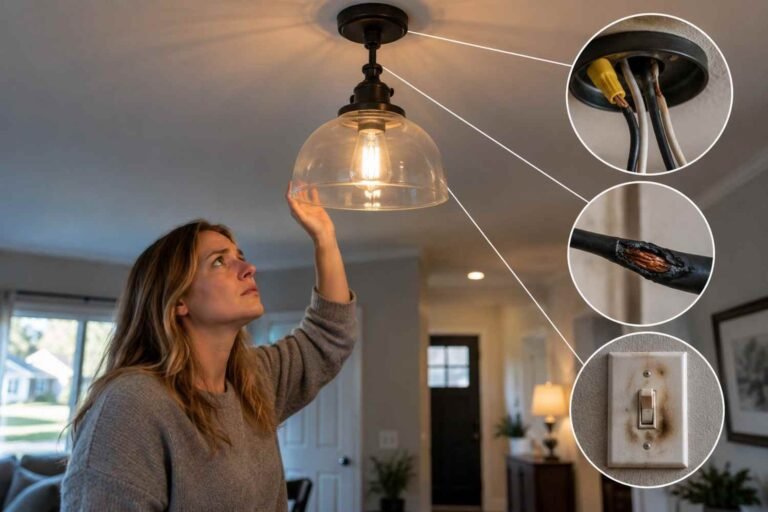
A light turning on does not prove that every connection is correct. Loose wire connections, incorrect conductor identification, or an improperly handled grounding connection can create reliability and safety problems.
Use the manufacturer’s wiring diagram rather than assuming every fixture uses the same arrangement. Some LED fixtures include separate drivers, sensors, or control wires, so a generic wiring method can create confusion.
This is a good place to use how to install LED lights correctly as a reference point before beginning. Follow the fixture’s specific instructions and local electrical requirements instead of relying on a generic wiring method.
Heat still matters with LED fixtures
LEDs produce less waste heat than many older light sources, but they are not completely heat-free. The LEDs and their drivers still have temperature limits. Poor airflow, incorrect insulation clearance, or installing a fixture where it was not designed to operate can shorten its useful life.
Recessed fixtures deserve particular attention. If insulation will touch the housing, the fixture should be rated for insulation contact.
Do not cover a fixture with insulation unless its rating and installation instructions specifically allow it.
An old dimmer can cause new problems
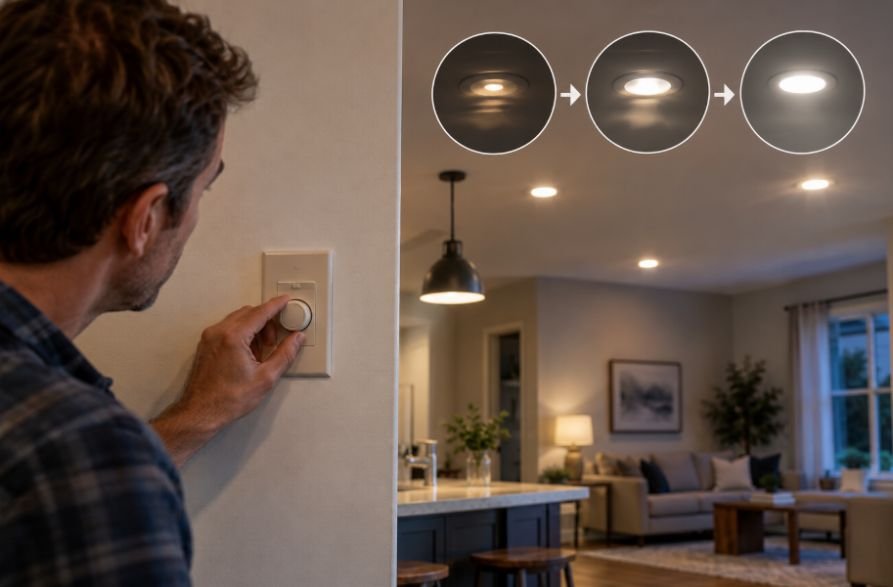
Replacing an incandescent fixture with an LED does not automatically make the existing dimmer compatible. Some LEDs may flicker, buzz, fail to reach a low brightness level, or behave unpredictably with an unsuitable control.
Check the fixture’s dimming requirements and the dimmer manufacturer’s compatibility information before connecting them. This matters especially with smart, tunable-white, color-changing, or strip-light systems because multiple components may need to work together.
If the light flickers, check compatibility before assuming the LED is defective.
Location ratings are easy to overlook
A dry-location fixture should not automatically be used on a covered porch, bathroom shower area, or other moisture-prone space. Check the appropriate damp-location or wet-location rating.
If the fixture is exposed to rain or moisture, knowing how to troubleshoot outdoor lights after heavy rain can also help identify problems caused by water exposure.
Using an indoor fixture outside because it physically fits can turn a simple shortcut into an electrical safety issue.
Think about serviceability before buying
Integrated LED fixtures look clean, but a failed driver or internal component can mean replacing the entire unit. Before choosing one for a hard-to-reach location, check its warranty and replacement options.
Test the installation beyond the on switch
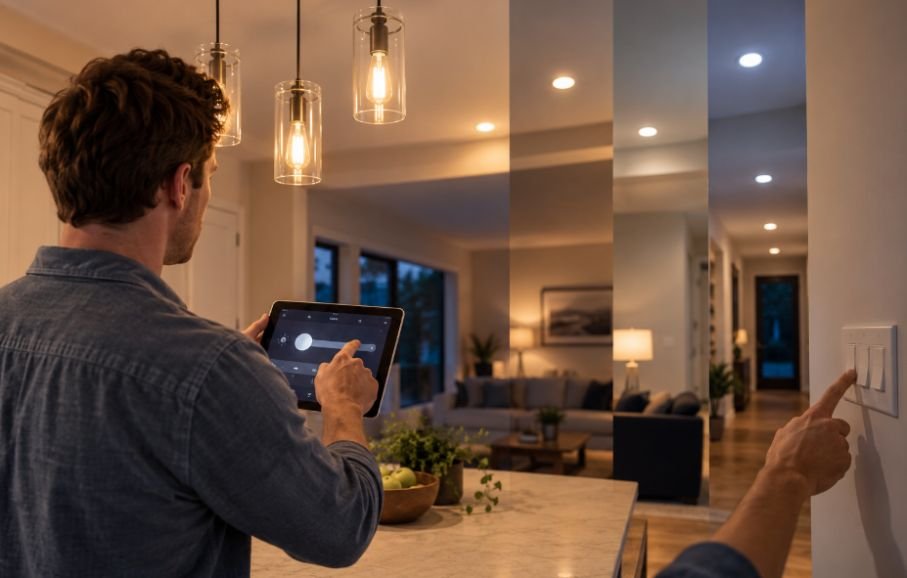
After installation, do more than flip the switch and walk away. Let the fixture operate long enough to notice abnormal flickering, buzzing, excessive heat, or movement. Test the dimming range if applicable and confirm that the fixture sits securely.
A quick inspection can catch loose trim, shifting hardware, unexpected noise, or inconsistent color before the problem becomes routine.
The details worth checking twice
The most preventable LED fixture installation mistakes usually happen when a small assumption replaces a specification. The fixture looks like it should fit, or the old dimmer looks compatible. Those assumptions can survive an initial test while creating problems later.
Pause at each decision point: confirm the fixture rating, support method, wiring, dimmer compatibility, thermal clearance, and location rating. When something does not make sense, stop rather than improvise around electrical hardware.
Frequently Asked Questions
1. Can I mount an LED fixture directly to drywall?
Only when the fixture and mounting system are suitable for that surface and weight. Heavier fixtures generally need proper structural support or an appropriately rated outlet box.
2. Why is my new LED fixture flickering?
An incompatible dimmer is one possible cause, but loose connections, driver issues, voltage problems, or incompatible controls can also contribute. Check the manufacturer’s compatibility requirements first.
3. Do LED recessed lights need clearance from insulation?
It depends on the fixture. Type IC recessed fixtures are designed for insulation contact, while non-IC models may require clearance. Follow the fixture’s labeling and installation instructions.
4. Can I use an indoor LED fixture outdoors?
Not unless the fixture is specifically rated for the outdoor environment. Check whether the product is approved for damp or wet locations based on where it will be installed.
Why Careful Installation Pays Off
Good LED lighting is not only about choosing a bright, attractive fixture. The installation determines how securely that fixture stays in place, how safely it operates, how well it handles heat, and how consistently it performs with the controls around it. Taking a few extra minutes to check the specifications can prevent flickering, premature failure, loose hardware, or an installation that needs to be redone.
The best lighting upgrades are the ones you barely think about afterward. These checks are especially useful before closing ceilings or walls. When a fixture is properly supported, compatible, and correctly rated, it simply does its job.






2 thoughts on “LED Fixture Installation Mistakes That Homeowners Often Overlook”