
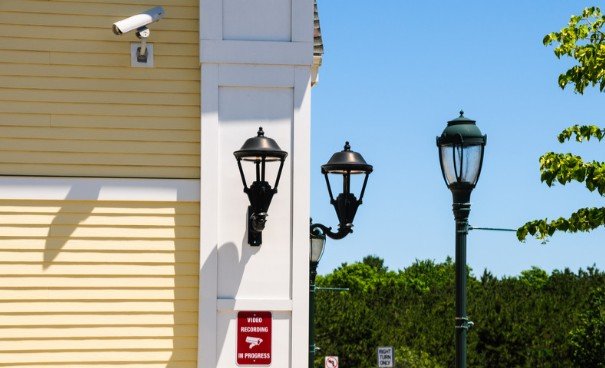
I used to think that adding one powerful floodlight above a garage was enough to protect an entire property. However, bright light in one location can create deep shadows elsewhere, leaving doors, windows and side passages difficult to see. This outdoor security lighting placement guide explains how to distribute light around a home so that entrances, walking areas and concealed corners remain visible without producing excessive glare.
Effective security lighting is not about making a property as bright as possible. It involves placing the right fixtures at suitable heights, controlling their direction and creating balanced coverage. A thoughtful plan can discourage unwanted visitors, improve nighttime visibility and help security cameras capture clearer footage.
Begin With a Nighttime Property Assessment
Walk around your property after sunset before buying or installing fixtures. Begin at the sidewalk or main entrance and follow the same routes that residents, visitors and delivery drivers commonly use. Look for dark doors, uneven steps, narrow side paths, dense landscaping and detached structures.
Study the property from inside as well. A poorly directed floodlight may shine through a bedroom window or create reflections that make it difficult to see outside. Mark vulnerable areas and decide whether each one needs continuous low-level illumination, motion-activated lighting or a combination of both.
Place Lights Around Every Exterior Entrance
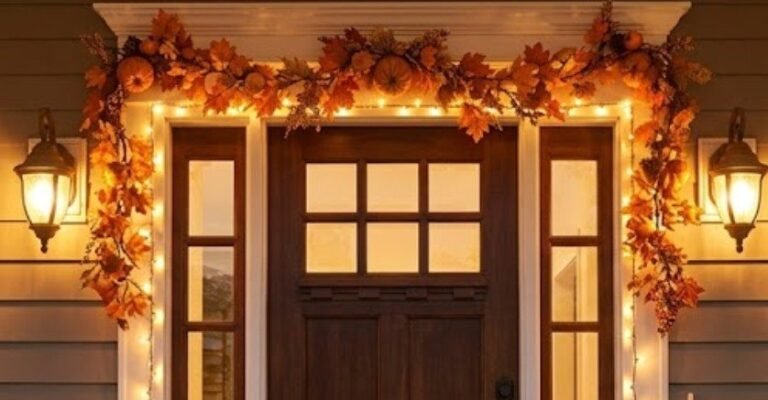
The front door should have clear, welcoming illumination that allows residents to recognize visitors and locate locks. Wall lanterns can be installed on both sides of the doorway for even coverage. Where space is limited, a fixture above the entrance can illuminate the porch, steps and house number.
Back doors, side doors and basement entrances deserve equal attention. These areas are often darker and less visible from the street. Install fixtures above or beside each door, aiming the light toward the landing rather than directly outward into a person’s eyes.
Recessed porch fixtures are particularly useful because they are difficult to tamper with and produce controlled downward light. Avoid positioning a bright bulb behind someone standing at the door, as this can turn the person into a silhouette on a security camera.
Protect the Garage and Driveway

A driveway provides a natural approach to the property, so it needs broad but carefully controlled coverage. Adjustable floodlights installed near the garage can illuminate parked vehicles, the garage door and the route toward the house.
Motion sensors should detect someone before that person reaches a vehicle or entrance. Instead of pointing the sensor straight down the driveway, angle its detection area so approaching people move across its field of view. Many motion sensors recognize crosswise movement more effectively than movement coming directly toward them.
Eliminate Side-Yard and Backyard Blind Spots
Side passages are easy to overlook because they may be narrow, fenced or partly hidden by landscaping. Wall-mounted motion lights can cover gates, utility areas and routes between the front and backyard. Fixtures should overlap slightly so that a person cannot move from one dark pocket to another.
In the backyard, prioritize the rear entrance, patio doors, ground-level windows and gates. Sheds, workshops and detached garages should also receive lighting, especially when they contain tools, bicycles or other valuable items.
Avoid trying to cover the entire backyard with one extremely bright fixture. Several moderate, shielded lights usually create more uniform visibility with fewer harsh shadows.
Illuminate Paths, Steps and Changes in Elevation
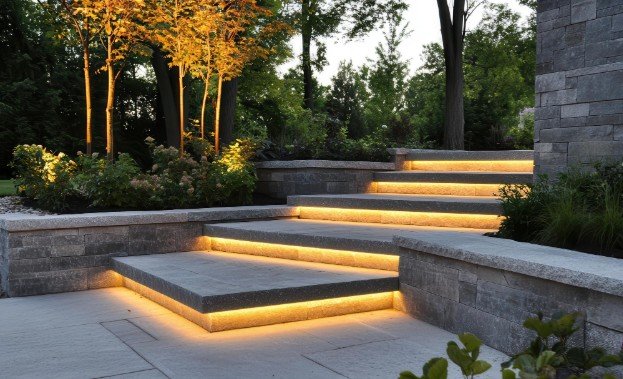
Security lighting should protect people from accidents as well as unwanted activity. Walkways, stairs, retaining walls, deck edges and changes in ground level should remain easy to identify after dark.
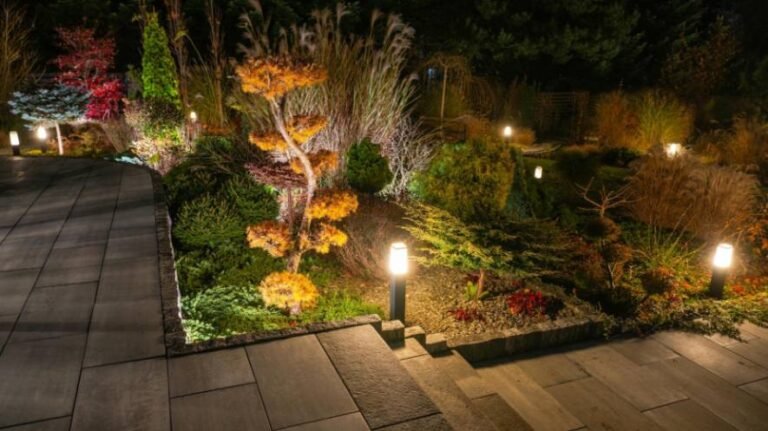
Low-voltage path lights can provide gentle continuous illumination, while motion-activated wall fixtures can deliver brighter light when someone approaches. Near swimming pools or water features, fixtures must be suitable for the location and installed according to applicable electrical requirements.
Position pathway lights so they illuminate the walking surface without shining upward. Spacing them evenly creates a continuous route and prevents alternating patches of intense light and darkness.
Choose the Correct Mounting Height and Direction

Outdoor motion lights are commonly mounted approximately 6 to 10 feet above the ground. This range can provide broad detection while keeping fixtures difficult to reach. The exact height should follow the manufacturer’s directions because sensor designs, detection patterns and intended coverage differ.
Angle each light downward toward the target area. Aiming a floodlight horizontally can send glare toward neighboring homes, drivers or pedestrians while wasting light above the property.
Use shielded fixtures where possible. The goal is to illuminate faces, doors and walking surfaces—not the sky. After installation, stand at the property line and confirm that the light remains primarily within your space.
Coordinate Lighting With Security Cameras
Place security lighting close enough to help a camera record useful details, but never aim a fixture directly into its lens. Strong glare can overexpose faces and make surrounding areas appear darker.
Lights mounted beside or above cameras generally provide better results than lights installed behind them. Review live and recorded footage after dark to check for reflections, silhouettes and overexposed surfaces.
Overlapping coverage is valuable, but perfectly uniform brightness is not always necessary. The objective is to keep important areas visible while avoiding sharp transitions that challenge a camera’s exposure system.
Select Suitable Brightness and Controls
Brighter is not automatically safer. Excessive brightness can reduce visual comfort, disturb neighbors and deepen shadows beyond the illuminated area. Use adjustable fixtures so output, duration and detection sensitivity can be changed after installation.
Motion activation works well at driveways, side gates and secondary entrances because sudden illumination draws attention to movement. Dusk-to-dawn lighting is better for porches, house numbers and frequently used walkways. Timers and smart controls can create schedules without leaving every fixture operating throughout the night.
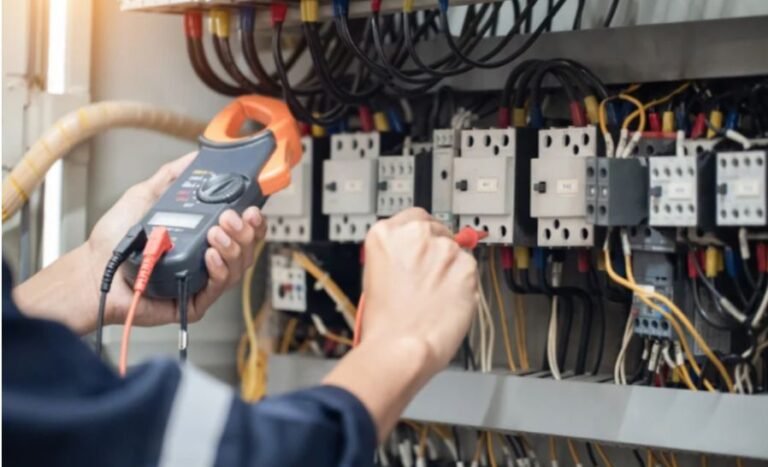
For dependable outdoor use, select weather-rated fixtures designed for the installation location. Solar lights offer easy installation but need reliable sunlight. Hardwired fixtures provide consistent output, although new wiring should be handled by a qualified electrician.
Frequently Asked Questions
1. What areas should an outdoor security lighting placement guide prioritize?
A reliable outdoor security lighting placement guide should prioritize exterior doors, garage areas, driveways, side passages, backyard gates, ground-level windows, pathways, steps and detached buildings. It should also explain mounting height, sensor direction, glare control and camera compatibility.
2. Should security lights remain on throughout the night?
Not every security light needs to operate continuously. Low-level porch and pathway lighting may remain on from dusk to dawn, while brighter floodlights are often better controlled by motion sensors, timers or smart schedules.
3. How can I prevent outdoor motion lights from activating constantly?
Aim sensors away from streets, neighboring yards, moving branches and heating equipment. Reduce their range or sensitivity and test them by walking through the intended detection zone after sunset.
4. Can outdoor lighting improve security-camera recordings?
Yes. Balanced lighting can help cameras capture faces, clothing and movement. Position fixtures above or beside cameras, direct light toward the monitored area and check nighttime footage for glare or overexposure.
Final Thoughts
I have found that the most effective lighting plans use several carefully positioned fixtures instead of one overpowering floodlight. Entrances, paths and concealed areas should receive balanced coverage, while sensors and beams should remain focused within the property.
By assessing the home after dark, eliminating blind spots and coordinating fixtures with cameras, I can create a safer exterior without unnecessary brightness. Regular testing and seasonal adjustments will keep the system useful as plants grow, weather changes and security needs evolve.


One thought on “Outdoor Security Lighting Placement Guide for Safer Homes”