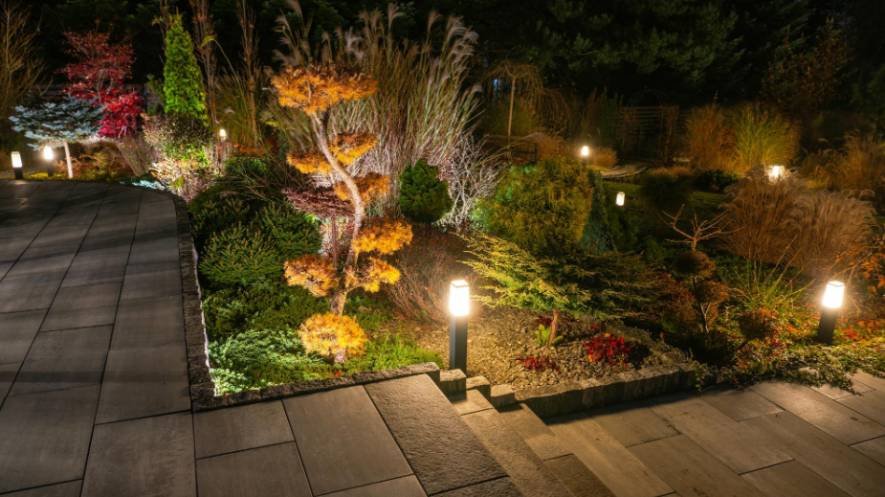
When I first experimented with garden lighting, I placed identical fixtures at equal intervals along both sides of the walkway. The result was bright but rigid, resembling a miniature airport runway.
I eventually discovered that the best lighting ideas for garden pathways balance visibility with atmosphere. Instead of illuminating every inch, an effective design reveals edges, corners, steps, and nearby plants while preserving enough darkness to make the garden feel peaceful.
Install Downward-Facing Path Lights
Traditional path lights have caps that direct illumination toward the ground. They create controlled pools of light and keep the bulb out of a pedestrian’s direct line of sight. These fixtures complement gravel, brick, flagstone, and stepping-stone paths.
Avoid positioning them in matching pairs. Staggering the lights on alternating sides produces a natural rhythm and reduces unnecessary brightness.
Choose Low-Voltage Landscape Lighting
Low-voltage lighting is a dependable choice for paths used regularly. A transformer reduces the electrical supply before distributing power through outdoor cables to individual fixtures.
This type of system can support timers, photocells, dimmers, and smart controls. It also delivers more consistent illumination than many solar products. Transformer capacity, total wattage, cable length, and voltage drop should be considered during planning.
Use Solar Stakes in Sunny Areas
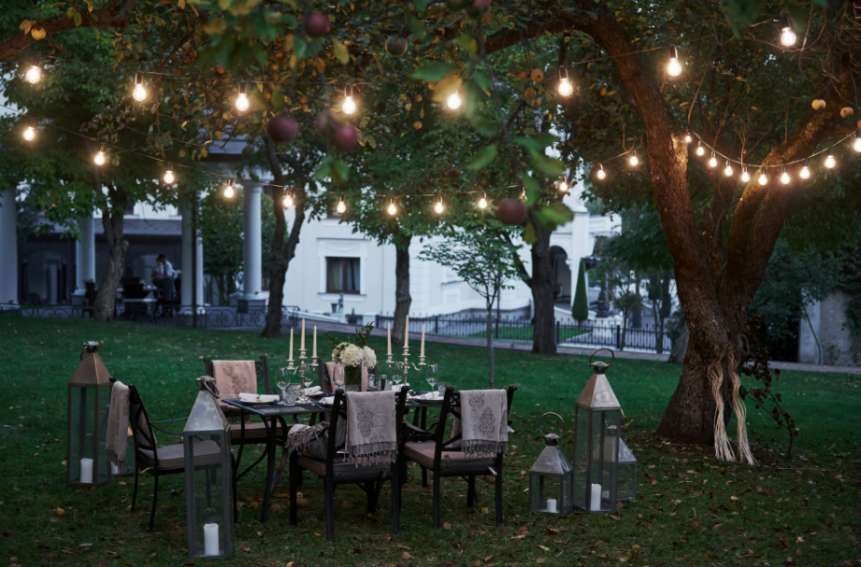
Solar stake lights require no trenching or electrical cable, making them convenient for informal gardens and temporary layouts. They can also be moved as plants grow or the landscape changes.
Their performance depends on direct sunlight, battery condition, season, and panel cleanliness. Solar lights are generally better for decorative guidance than for critical steps or entrances. Position the panels away from deep shade and dense foliage.
Add Recessed Lights Beside Pavers
In-ground lights provide a clean appearance because most of the fixture remains hidden. Installed beside concrete slabs, stone pavers, or narrow courtyard paths, they define the route without introducing visible posts.
Choose walkover-rated fixtures where people may step on them and drive-over-rated products near vehicles. Directional models are preferable because an exposed upward beam can create uncomfortable glare.
Illuminate Steps and Level Changes
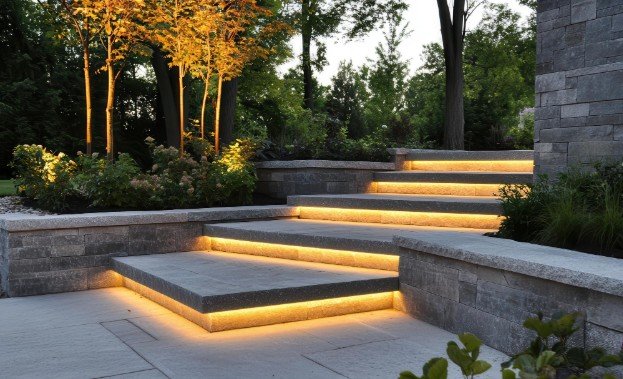
Steps, raised borders, and changes in elevation should receive priority. Small lights installed in stair risers reveal each tread without flooding the surrounding garden. Hardscape lighting for retaining walls can also illuminate level changes while highlighting the wall’s texture. If riser installation is impractical, a shielded light mounted on an adjacent wall can wash illumination across the steps.
The source should remain concealed from anyone approaching the staircase. Clearly showing the shape and edge of each step matters more than producing high brightness.
In compact entryways with limited ceiling height, best flush mount lighting for low ceiling entryway can provide practical overhead illumination while preserving valuable vertical clearance.
Create Moonlighting from Above
A fixture installed in a tree, pergola, or other elevated structure can cast soft light through branches. The resulting shadows resemble natural moonlight and create a broader, more organic effect than a row of ground fixtures.
Tree-mounted equipment must allow for future growth without damaging the trunk. As with mechanical row equipment, adequate clearance and careful positioning are essential to prevent contact with nearby vegetation. Adjustable fittings are particularly useful because their direction can be changed as branches and foliage develop.
Mount Downlights on Walls and Fences
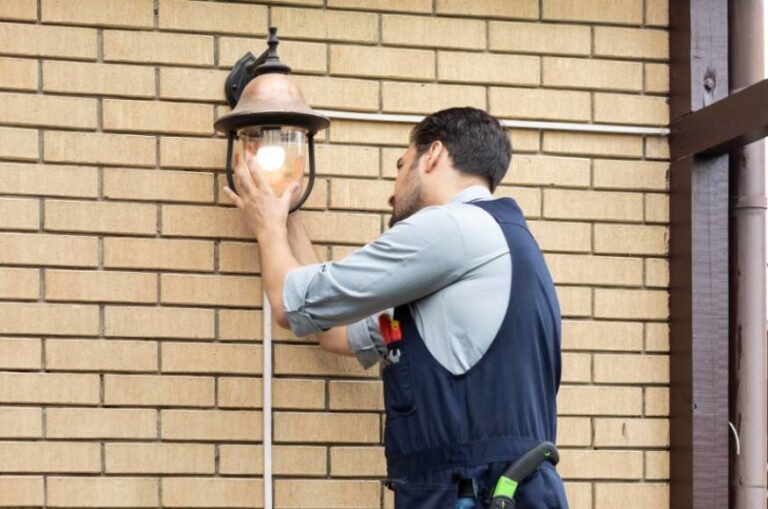
When a path runs beside a wall, fence, or building, surface-mounted downlights can illuminate it from above. This approach keeps posts out of narrow planting beds and reduces physical obstacles along confined walkways.
How to choose outdoor wall lights can help you select the right fixture type, weather rating, mounting position, and beam direction for these wall-mounted applications.
Select shielded fixtures that direct light onto the ground. Wide, uncontrolled beams may enter windows, affect neighboring spaces, or contribute to sky glow.
Highlight Plants Along the Route
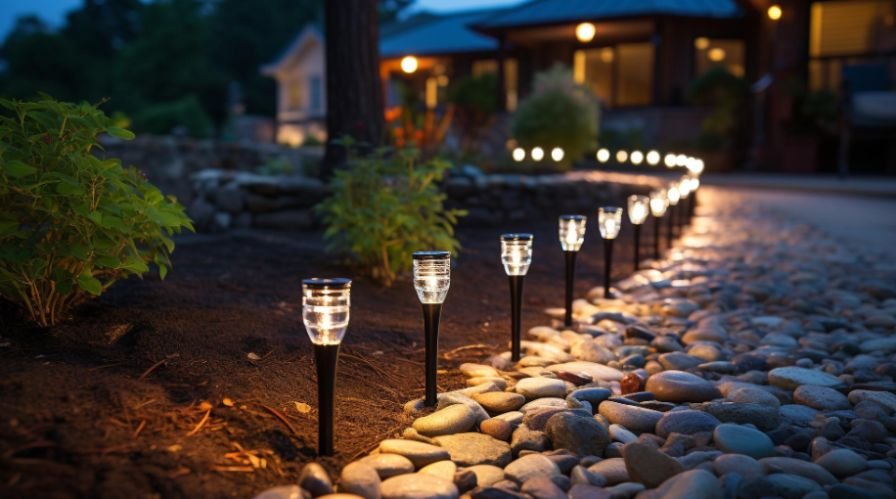
Path lighting can guide movement indirectly by illuminating nearby landscape features. A small spotlight aimed at ornamental grass, a sculptural shrub, or textured tree bark creates depth while reflecting gentle light toward the walkway.
Narrow beams suit individual features, while wider beams work better for groups of plants. Always aim spotlights away from approaching pedestrians to prevent glare.
Conceal Lights Under Wall Caps
Paths bordered by retaining walls or raised planters are ideal for concealed under-cap lighting. Hidden LED fixtures can wash the vertical surface and nearby ground without adding posts.
Outdoor-rated strips, mounting channels, connectors, and power supplies are essential. Products designed only for indoor use can deteriorate when exposed to moisture, temperature changes, and irrigation.
Use Bollards for Wider Walkways
Bollards cast light from a greater height and generally cover more ground than short path fixtures. They suit broad walkways, large entrances, and gardens where the fixture itself should become an architectural feature.
Directional or shielded bollards provide better glare control. Unshielded models may illuminate nearby flower beds, but they can also send excessive light into surrounding areas.
Select a Warm Color Temperature
Warm-white LEDs complement foliage, wood, brick, and natural stone. A color temperature of approximately 2700K creates a comfortable glow without making the garden appear cold or clinical.
Brightness should remain restrained. Garden paths only need enough illumination to reveal boundaries and hazards. Dimmers and adjustable fixtures make it easier to balance the lighting after sunset.
Match Fixtures to the Path Material
Every surface responds differently to light. Grazing light emphasizes irregular stone, while low edge lighting defines loose gravel. Recessed fixtures complement geometric pavers, and brass or copper path lights suit brick and traditional planting.
Fixtures should also look attractive during the day. Dark bronze, aged brass, copper, powder-coated aluminum, and weathering steel can blend naturally into different landscape styles.
Add Portable Lanterns for Special Occasions
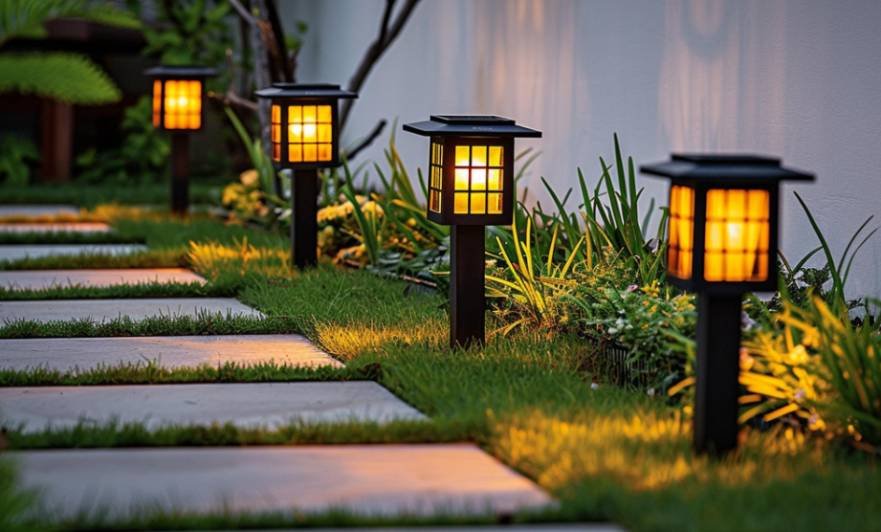
Battery-powered lanterns and flameless candles can transform a pathway for dinners, celebrations, or seasonal gatherings. Arranging them in small clusters creates a softer effect than placing them in a continuous line.
Portable lights should supplement permanent lighting rather than replace it on essential access routes. Keep candles away from dry leaves, overhanging plants, and unstable path edges.
Check Weather and Location Ratings
Every outdoor fixture must withstand rain, damp soil, irrigation, dust, and temperature changes. Check its stated location and ingress-protection ratings instead of relying solely on an “outdoor” label.
Transformers, drivers, cables, and connectors also require appropriate protection. Complicated permanent wiring and mains-voltage installations should be completed by a qualified electrical professional.
Test the Layout After Sunset
Before installing anything permanently, I recommend testing the proposed positions with temporary lights. Walk the complete route and note where it curves, where shadows hide hazards, and whether any light shines at eye level.
A spacing of approximately six to eight feet can be an initial reference for many path fixtures, but it is not a universal rule. Beam spread, mounting height, vegetation, path width, and ambient illumination determine the final distance.
Frequently Asked Questions
1. What are the best lighting ideas for garden pathways?
The best lighting ideas for garden pathways include shielded path lights, staggered bollards, recessed edge fixtures, riser lights, wall-mounted downlights, and moonlighting. The right combination depends on the path’s surface, width, surroundings, power access, and frequency of use.
2. Should path lights be installed on both sides?
They can appear on both sides without being positioned directly opposite each other. Alternating their placement usually produces more natural pools of light and avoids a runway-like appearance.
3. Are solar lights bright enough for pathways?
Good solar lights can mark a sunny decorative path. Low-voltage fixtures are usually more reliable for shaded routes, steps, entrances, and paths used throughout the year.
4. How far apart should path lights be?
Begin by testing a distance of roughly six to eight feet, then adjust it according to beam width, fixture height, plant growth, surface conditions, and surrounding light.
Final Thoughts
I believe successful pathway lighting should be felt before it is noticed. The best lighting ideas for garden pathways reveal the next step, highlight selected landscape features, and create a comfortable atmosphere without overpowering the darkness.
By using warm LEDs, shielded fixtures, staggered placement, suitable weather protection, and nighttime testing, I can create a route that feels safer, calmer, and more inviting after sunset.