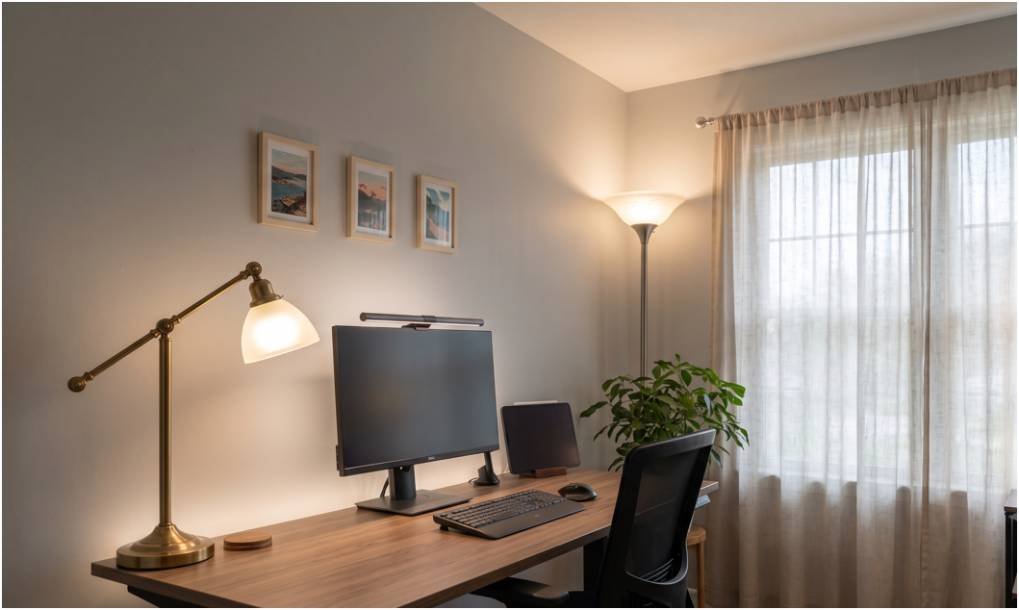
I spent months fighting ocular fatigue and squinting over client notes before I realized my workstation was set up like an interrogation room. Learning how to eliminate harsh shadows in home office lighting came down to a single revelation: stark, knife-edge shadows are not caused by an abundance of lumens, but by light originating from a tiny, concentrated point source.
When you sit beneath an uncovered can light or a bare desk lamp, light travels along rigid, unobstructed sightlines. The moment your hand, webcam, or monitor interrupts that narrow path, it casts a pitch-black outline across your desk.
You do not need to replace your entire ceiling to fix this. By modifying the physical size of your light sources, bouncing rays off matte surfaces, and balancing fixture positions, you can eliminate harsh contrast lines and protect your eyesight during long workdays.
The Physics of Harsh Shadows: Point Sources vs. Apparent Surface Area
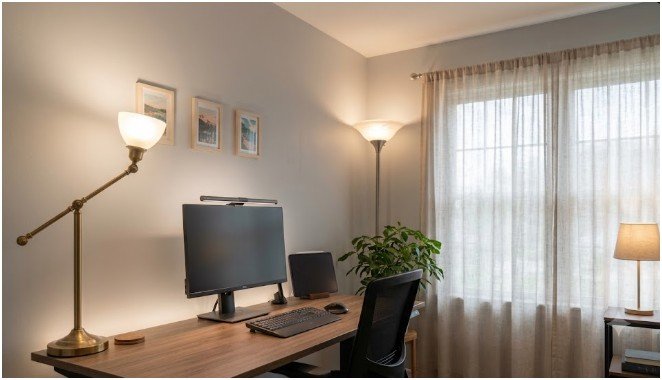
Shadow harshness is governed by the relative size of your light source compared to its distance from your desk. In architectural physics, this is known as apparent surface area.
A bare 60-watt equivalent LED bulb measures roughly two inches across. When placed three feet away, it acts as a pinpoint origin. Ray paths diverge at sharp angles, leaving zero penumbra—the soft transitional zone between light and total dark. The Illuminating Engineering Society (IES) emphasizes that severe luminance ratios inside your direct field of view accelerate visual fatigue because your pupils must constantly dilate and constrict as your gaze shifts between bright paper and deep shadow.
To soften shadows, you must enlarge the apparent size of the light emitter. Passing that same bulb’s output through a 12-inch frosted panel spreads the origin point across six times the surface area. The light rays overlap from dozens of micro-angles simultaneously, washing out sharp outlines into a faint, imperceptible gradient.
Fix the Geometry: Strategic Desk and Fixture Placement
Even diffused light creates dark pockets if your physical alignment fights basic ray geometry. Before buying new equipment, reorient where your current lamps sit relative to your body.
[Window / Natural Light]
| (Side illumination, 90° to monitor)
v
+————–+
| Monitor | <— [Monitor Light Bar / Bias Light]
+————–+
|
[ Desk Surface ]
^ ^
| |
[Left Fill] [Right Key]
(Opposite dominant hand)
Opposing Your Dominant Hand to Stop Arm Shadows
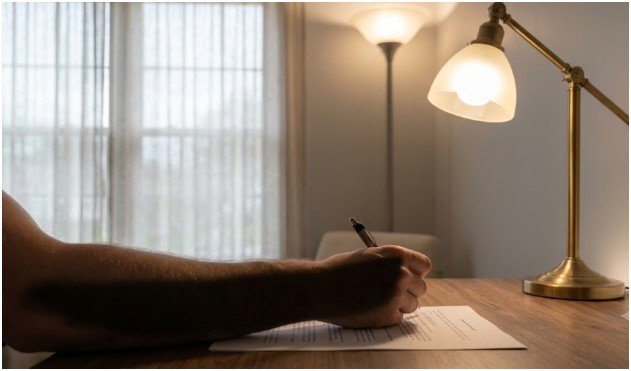
If you write with your right hand and your desk lamp sits on your right, your forearm blocks the light pool every time you reach for a pen. The fix is simple: place your primary task lamp on the opposite side of your dominant hand. Left-handed writers should orient task lights on the right; right-handed writers should position them on the left.
This simple swap keeps your hand’s cast shadow trailing behind your pen stroke rather than obscuring your writing pad.
Eradicating the Dreaded Video Call Silhouette
The most common video meeting mistake is sitting directly underneath or ahead of an uncovered downlight. Overhead beams cast heavy shadows beneath your brow, nose, and chin—often referred to as “raccoon eyes.”
According to workstation guidelines from the Occupational Safety and Health Administration (OSHA), placing unshielded fixtures directly above or behind the operator generates extreme contrast that washes out computer screens and distorts visual clarity.
Never position your dominant ceiling fixture directly behind your chair. Instead, position key facial illumination between 30 and 45 degrees above your eye line, placed slightly off to the side of your webcam.
Soften the Beam: Practical Diffusion and Surface Bouncing
Direct light should rarely hit your desk unmediated. You have two reliable methods to break up harsh directional beams: mechanical diffusion and surface bouncing.
| Method | Best Hardware | Contrast Reduction | Ideal Use Case |
| Surface Bounce | Torchiere lamps, adjustable swing-arms | 70–85% | Overall room ambient glow |
| Panel Diffusion | Polycarbonate sheets, fabric softboxes | 50–65% | Direct video calls and macro work |
| Window Filtration | Sheer linen drapes, 3% solar shades | 60–80% | Unfiltered daytime sunlight |
Converting Drywall into a Giant Softbox
Bouncing light turns your room’s architecture into an optical modifier. If you have an adjustable swing-arm lamp or an upward-facing floor torchiere, aim the head directly into a matte white wall or ceiling.
During my own lux testing, pointing a 1,000-lumen task bulb straight at my desktop produced a harsh 680-lux hot spot surrounded by 80-lux shadows—an aggressive 8.5:1 contrast ratio. Pointing that exact same fixture at an off-white ceiling produced an even, wraparound field measuring 240 lux across the entire working zone, reducing the contrast ratio to a gentle 1.4:1. The drywall absorbs pinpoint hot spots and redirects thousands of scattered, soft beams across your workspace.
Adding Physical Diffusers and Window Filters
Direct sunlight packs thousands of foot-candles and casts the sharpest shadows imaginable. If your desk sits beside a southern or western window, bare glass will ruin your illumination balance. Hang sheer curtains or light-filtering solar shades to break harsh solar rays into an even, daylight ambient wash.
For artificial bulbs, replace exposed transparent glass fixtures with frosted globes, milky polycarbonate covers, or compact fabric diffusion socks. The National Institute for Occupational Safety and Health (NIOSH) notes that mitigating intense reflective hot spots on work planes is crucial for eliminating visual discomfort and eye strain.
Build a Balanced Scheme Across Multiple Fixtures
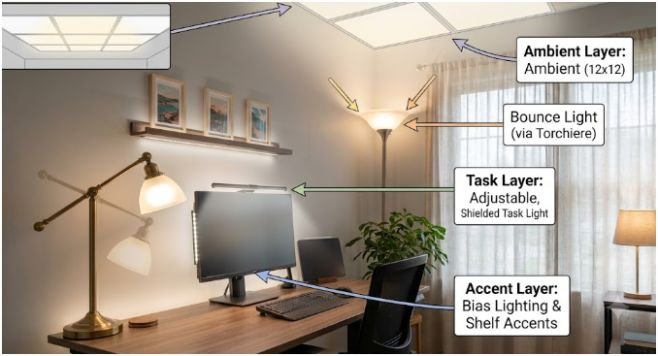
Relying on a solitary light source guarantees stark shadows. To create seamless illumination, you must layer ambient task and accent lighting systematically throughout the room.
- Ambient Baseline: Provide a gentle base level of room illumination. Wide-dispersion flush mounts or architectural coves prevent the perimeter of your home office from sinking into total darkness. If you work out of a basement with limited vertical clearance, review practical guidelines for indoor lighting placement for low ceiling basements to ensure your ceiling fixtures do not sit directly in your peripheral view.
- Task Precision: Use an asymmetric monitor light bar or a low-profile desk lamp fitted with a diffuser. The beam should terminate sharply along the front rim of your desk without washing out the monitor screen.
- Accent and Bias Fill: Mount an LED strip behind your monitor display. Illuminating the wall surface behind your screen softens the sharp luminance jump between your glowing display and the surrounding room, giving your eyes a relaxed visual horizon.
Quick Troubleshooting: Frequently Asked Questions
1. Why do ring lights still leave harsh shadows on my desk?
Ring lights act as pinpoint sources unless placed inches from your face; add a diffusion sock or bounce them off a white wall to soften the perimeter.
2. What color temperature reduces shadow perception best?
Neutral white light between 3500K and 4000K provides crisp clarity without the clinical glare and severe perceived contrast of 6500K daylight bulbs.
3. How do I stop my webcam light from casting shadows behind me?
Pull your desk at least two feet away from the wall behind you and introduce a low-output accent light to fill the background void.
4. Can a monitor light bar replace my desk lamp?
Yes, provided it features an asymmetric optical design that casts light forward across your keyboard while completely shielding your screen from glare.
Out of the Dark: Your Zero-Shadow Action Plan
Ditching harsh workspace shadows does not require studio gear or an electrical overhaul. Walk into your office, turn on your lights, and run your hand across your desk. If the outline of your fingers looks razor-sharp, turn your desk lamp around and blast the drywall behind it.
Once your bounce light handles the heavy lifting, balance the corners of the room with diffused accents. Your eyes will immediately relax, your video calls will look professional, and you will never have to work inside your own silhouette again.


One thought on “How to Eliminate Harsh Shadows in Home Office Lighting”