
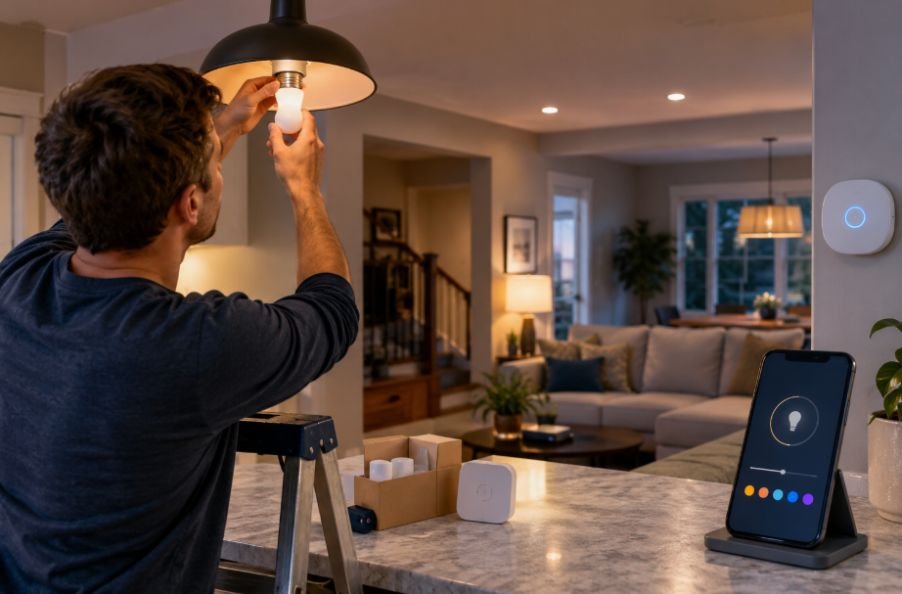
I used to think smart lighting was mostly about swapping a regular bulb for a smarter one. After installing and troubleshooting connected lights, I realized smoother setups start before the first bulb goes into the socket. Hardware choice, wiring, and the home network can affect whether the finished system feels effortless or frustrating.
I also found that a few minutes of preparation can prevent problems that make smart lighting seem unreliable. A light that works from the wall but refuses to connect, a dimmer that flickers with LEDs, or a switch that cannot be installed because the box lacks a neutral wire can turn a simple project into a return trip to the store.
Start With the Right Type of Smart Light
Smart bulbs are usually the easiest option. They fit compatible sockets and let you add app control, schedules, scenes, and voice commands without changing the home’s electrical wiring. They make sense for lamps, individual fixtures, and rooms where keeping the existing wall switch is useful.
Smart switches take a different approach. Instead of making the bulb intelligent, the switch controls the circuit feeding compatible fixtures. That works well when you want normal wall-switch behavior alongside smart control.
Smart fixtures combine the light source and electronics in one unit. Before buying, check compatibility, fixture rating, bulb base, dimming support, and smart-home ecosystem.
Check the Wiring Before Opening the Box
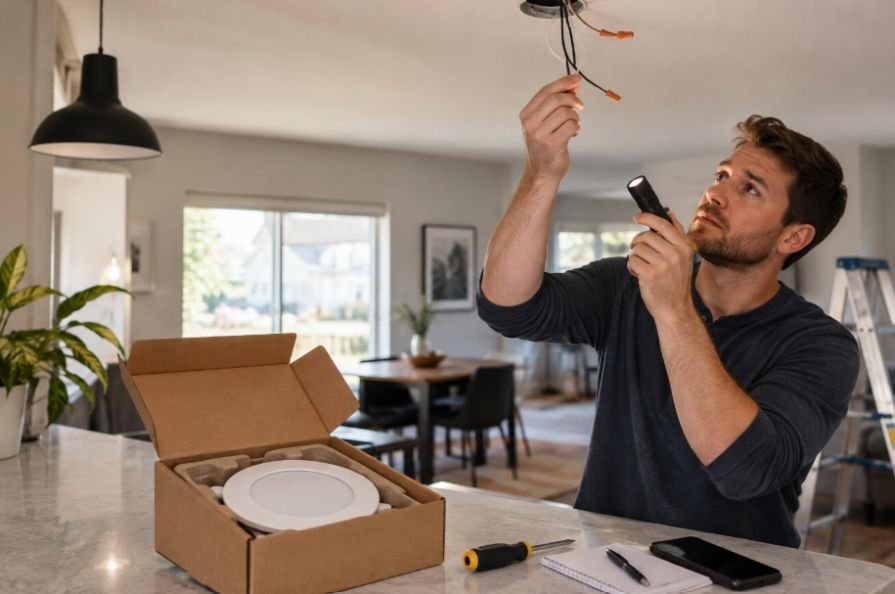
Smart switches deserve more preparation because existing wiring matters. A typical installation may involve line, load, neutral, ground, and, in some configurations, traveler wires. Not every smart switch supports every arrangement, and some models require a neutral connection.
Identify the switch type first. A single-pole switch controls a light from one location, while a three-way arrangement allows control from two. Buy a device designed for your configuration.
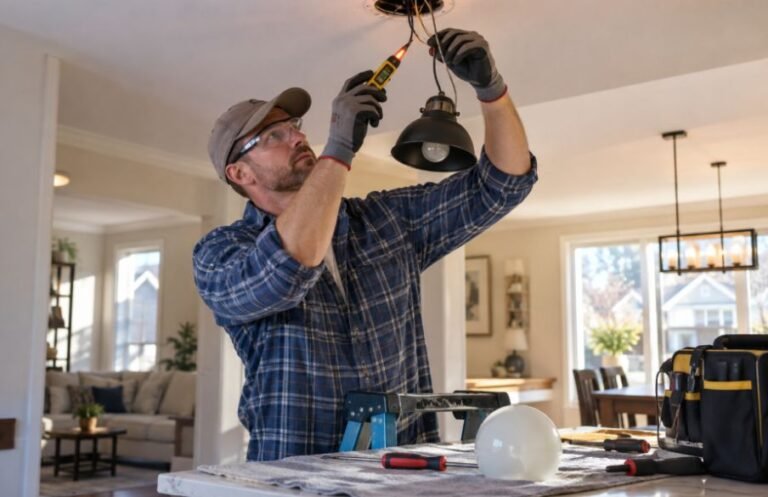
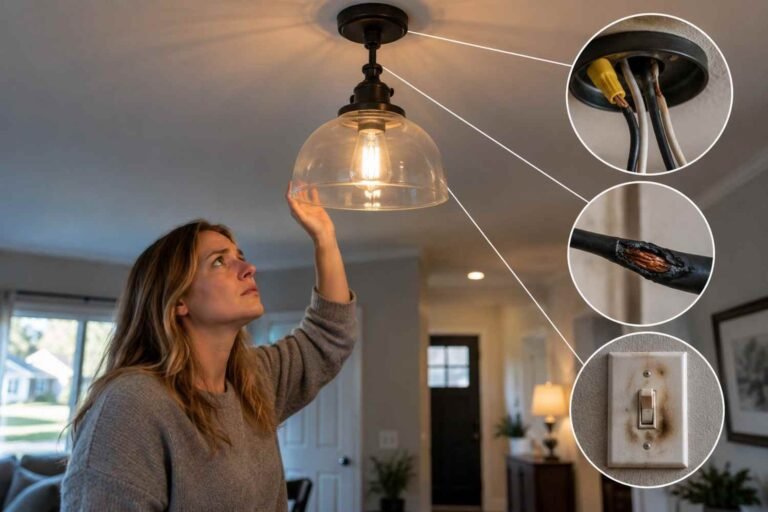
Turn off the circuit breaker before touching wiring, then verify that the circuit is de-energized with a functioning voltage tester. Never rely on the switch being off as proof that wires are safe. If the wiring is confusing, damaged, unexpectedly configured, or outside the manufacturer’s instructions, stop and call a qualified electrician.
For LED bulbs and fixtures, compatibility matters beyond having power. Some dimmers and smart controls can produce flicker, buzzing, limited dimming, or failure to turn completely off with low-wattage LED loads. Checking compatibility first is easier than diagnosing symptoms later.
Prepare the Network and Installation Area
Smart lighting has two systems to satisfy: the electrical installation and the communication setup. A perfectly wired light can still be annoying if its wireless connection is weak.
Before installation, have the manufacturer’s app installed and create an account if required. Many Wi-Fi devices are easiest to pair when a compatible 2.4 GHz network is available, although requirements vary. Others use Matter, Thread, Zigbee, Z-Wave, or a dedicated hub.
Install the Light and Connect It Carefully
For a smart bulb, installation is straightforward. Let the old bulb cool, remove it, install the compatible smart bulb, and restore power. Put the bulb into pairing mode using the manufacturer’s specified process. Others require a particular power-cycle sequence.
For a smart switch, remove the wall plate and existing switch only after power has been shut off and verified. Label wires before disconnecting them so their original functions remain clear. Connect the new device exactly as instructed, secure the connections, and make sure it fits the electrical box without forcing or pinching wires.
Resources explaining how to install LED lights correctly can clarify broader installation principles, but they should not replace instructions for the exact smart device.
After restoring power, complete app pairing and test basic control before building complicated automations.
Test More Than the On Switch
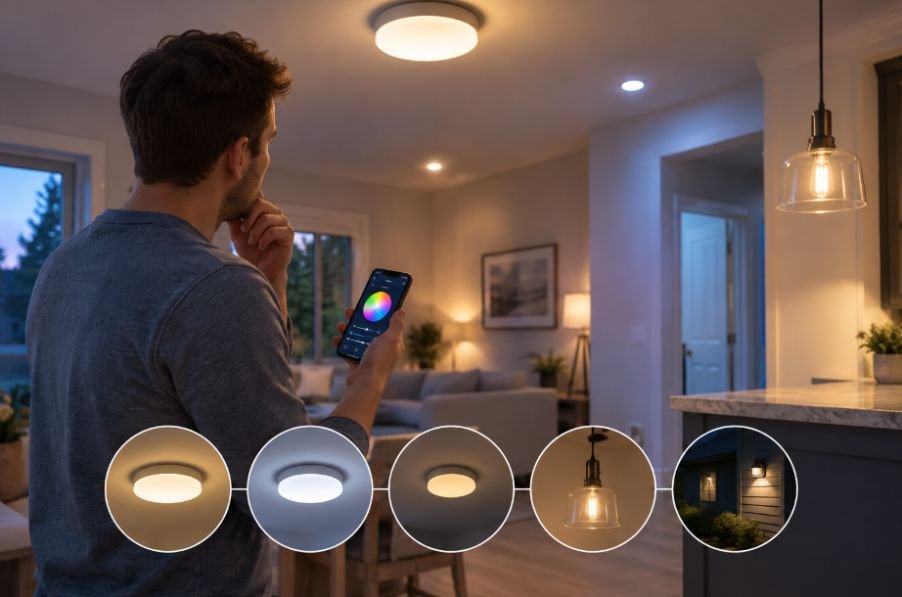
A smart light is not truly installed just because it turns on. Test it from the physical control, mobile app, and voice assistant if those features are included. If it is dimmable, check several brightness levels.
Run a schedule or automation and confirm that it triggers correctly. If the device supports scenes, test whether multiple lights respond together. Also consider how it behaves after a power interruption.
Pay attention to flickering, delayed commands, unexpected buzzing, dropped connections, and inconsistent responses. These symptoms can reveal compatibility or network issues early.
Common Problems to Catch Early
One frequent mistake is treating smart bulbs and smart switches as interchangeable. A smart bulb needs continuous power to remain connected, so repeatedly turning its wall switch off can make app and voice controls appear broken. A smart switch is often better where household members expect traditional wall control.
Another problem is weak wireless coverage. A phone may have a strong connection while the installed device struggles behind walls or farther from the router. Improving coverage or choosing a hub-based protocol can help.
Installation errors matter too. Loose connections, incompatible dimmers, incorrect switch configurations, or unsuitable loads can create symptoms that look like software problems. Reviewing common LED fixture installation mistakes can help catch physical issues early.
Frequently Asked Questions
1. Do smart bulbs need a smart switch?
No. Smart bulbs contain their own electronics and normally work with a standard compatible wall switch. A smart switch is useful for convenient remote circuit control.
2. Can I install a smart switch without a neutral wire?
Some models support installations without a neutral, but many require one. Check the exact product requirements and existing wiring before purchasing.
3. Why does my smart light keep disconnecting?
Weak Wi-Fi, incorrect network setup, outdated firmware, or poor device placement can cause connection problems. Check the manufacturer’s troubleshooting steps before changing hardware.
4. Should I install smart lighting myself?
Simple bulb replacements are generally straightforward. Electrical switch or fixture work requires more caution. If you cannot confidently identify the circuit and wiring, use a qualified electrician.
Why a Smoother Setup Starts Before Installation
Good smart lighting is less about adding the most features and more about making the system dependable in ordinary life. The best setup accounts for the fixture, wiring, controls, network, and people using the lights. Taking those factors seriously makes troubleshooting less likely and everyday control simpler.
A smart light should feel almost boring once it works. Planning saves time, money, and frustration. Flip the switch, tap the app, and get the response you expected. That quiet reliability is the real sign that the installation was done well.





2 thoughts on “Smart Light Installation Guide for a Smoother Setup at Home”