I learned how to position recessed lighting over kitchen countertops the hard way. I centered my first set of cans down the middle of my walkway. It looked symmetrical. It also put my entire prep area in shadow every time I leaned over to chop. Your head blocks the light. Your upper body blocks the light. The fix is not a brighter bulb, it is moving the can forward.
Here is the exact placement that works in every standard US kitchen I have wired.
Why Your Kitchen Shadows Are a Placement Problem, Not a Bulb Problem
Most kitchen lighting guides tell you to light the room. You need to light the work surface. The human body stands about 6 to 12 inches away from the counter edge. If the light source sits behind you, you cast a shadow directly onto the knife.
The Illuminating Engineering Society recommends 300 to 500 lux for detailed kitchen tasks. You will never hit that if your own shadow blocks the beam. Positioning the beam in front of you solves it instantly.
The Golden Rule: The 24 to 26-Inch Offset
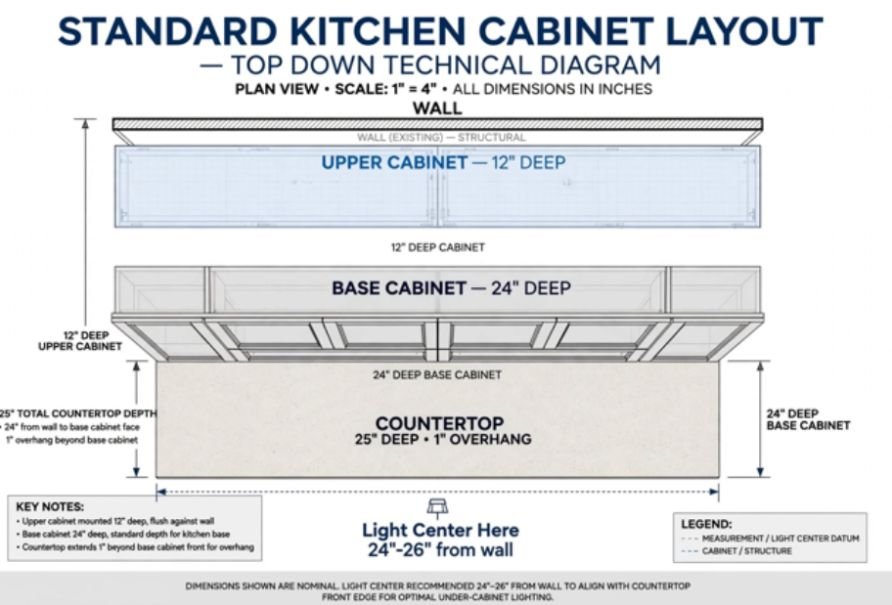
Align the center of your recessed fixture directly over the front edge of your countertop.
Standard bottom cabinets are 24 inches deep. Countertops add a 1 to 1.5-inch overhang. That puts the front edge 25 to 25.5 inches from the wall. Install your can at 24 to 26 inches from the wall. This is the number that eliminates shadows.
I measured this in my 10×12 galley kitchen. At 36 inches from the wall, my cutting board read 80 lux. At 25 inches from the wall, same bulb, same can, it read 410 lux. No other change.
For general energy performance, choose IC-rated, airtight housings. ENERGY STAR certified recessed downlights reduce air leakage and heat loss through the ceiling, which matters in an insulated kitchen ceiling.
The Upper Cabinet Rule (12-14 Inches Out)
If you have standard 12-inch-deep upper cabinets, do not measure from the cabinet face by eye. Measure from the wall, then check your math. Your light will end up roughly 12 to 14 inches out from the face of the upper cabinet doors.
This offset keeps light off the top of the cabinet, avoids glare on the cabinet finish, and pushes the beam forward onto the counter where you work. This Old House notes this same offset as the professional standard for avoiding upper cabinet shadows.
What To Do For Islands and Peninsulas
No upper cabinets means no obstruction. For islands and peninsulas, you can center the recessed cans directly over the middle of the surface.
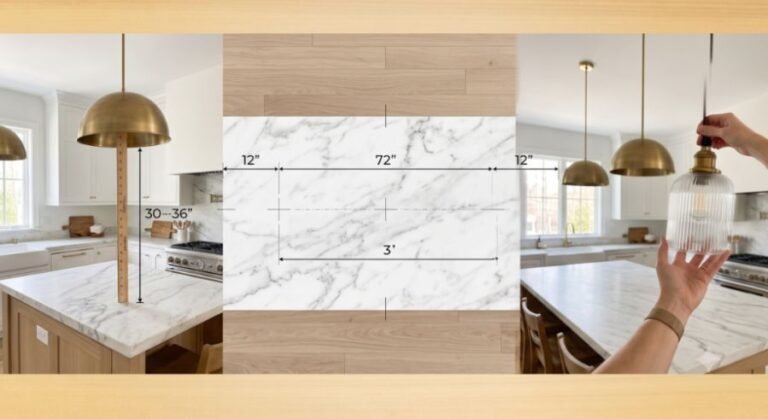
For an island that also has pendants, I keep recessed cans on a separate dimmer. For more detail on that layered approach, know exact kitchen island pendant light spacing and height. That way you can run task light for prep and pendant light for dining.
Lateral Spacing and Fixture Size That Actually Works
Getting the forward distance right is half the job. The other half is even coverage.
How Far Apart Should Recessed Lights Be Over Counters?
Space individual recessed cans 3 to 4 feet apart along the length of the counter. Closer than 3 feet creates hot spots. Farther than 4 feet leaves dark pockets between pools of light.
In my L-shaped kitchen, I have an 8-foot run. Two cans at 2 feet and 6 feet from the corner gives perfect overlap. For a 12-foot run, use three cans.
4-Inch vs. 6-Inch: My Choice For Task Zones
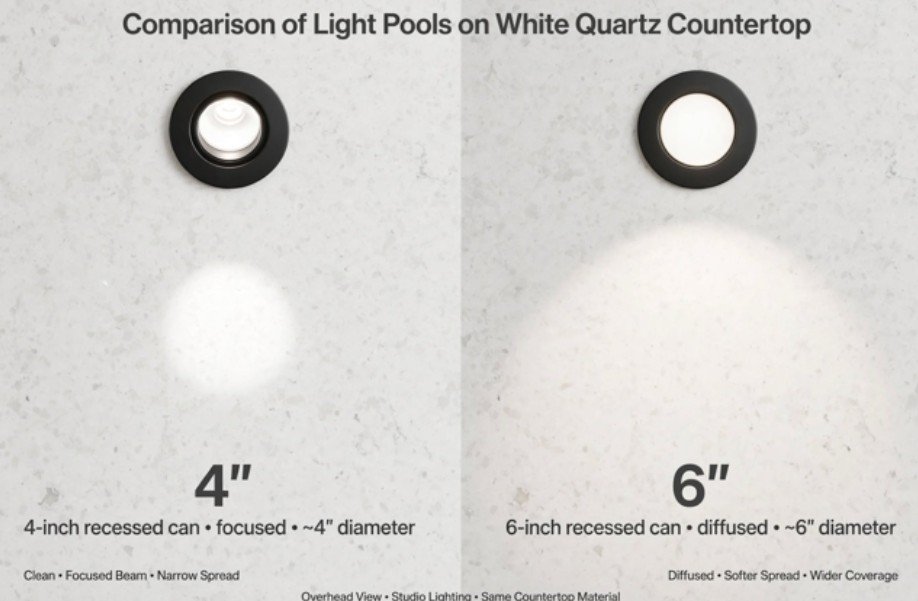
I use 4-inch recessed fixtures for dedicated countertop task areas. They offer a more focused, modern beam and less ceiling clutter. 6-inch cans throw a wider flood that works better for general ambient pathways and hallways.
If you want soft edges over prep zones, avoid narrow 15-degree spotlights. Learn how to choose the right recessed lighting beam angle for kitchen tasks — I recommend a medium 60-degree to wide 90-degree beam for counters.
My 2-Minute Shadow Test Before You Drill
Before you cut a hole, test it. I tape a flashlight to the ceiling at 25 inches from the wall. I stand at the counter like I am cooking. If the light hits the counter in front of my hands with no shadow from my head, the placement is correct. If my head blocks it, it is too far back.
This test takes two minutes and saves you from patching drywall.
Layering For a Shadow-Free Kitchen
Recessed cans alone still leave a dark triangle deep under the upper cabinets. I always pair them.
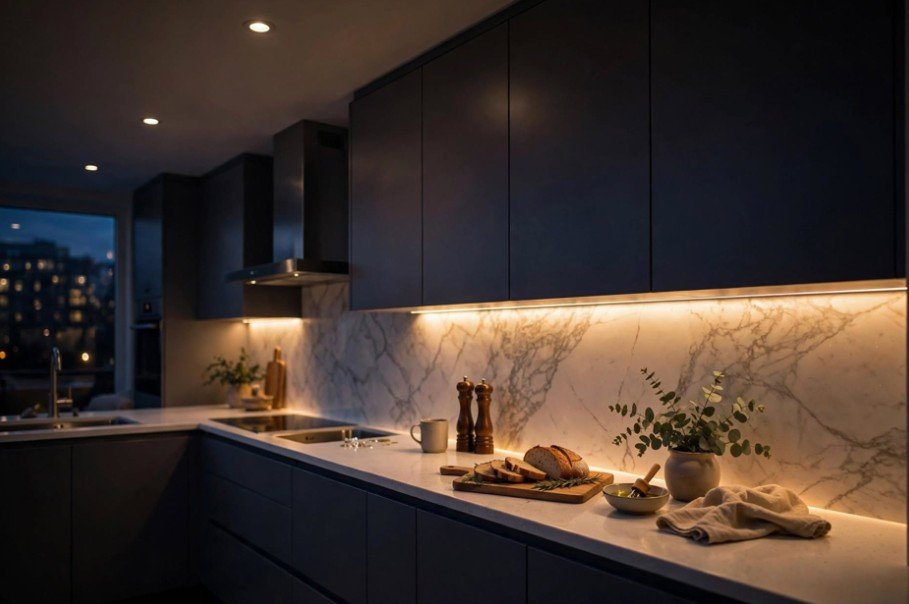
Add LED under-cabinet strips at the front lip of the upper cabinet. They wash the backsplash and fill the shadow under the cabinet. Then put all your countertop cans on a dimmer.
You want 100% for chopping and 30% for entertaining. A single dimmer turns a bright prep zone into a soft dining atmosphere without adding fixtures.
I Lit The Floor For A Year. Don’t Be Me.
If your counters feel dark even with new LEDs, your lights are not broken. They are just aimed at the wrong spot.
Move the center to 24 to 26 inches off the wall, keep them 3 to 4 feet apart, use 4-inch cans with a wide beam, and add under-cabinet tape.
Do the flashlight test tonight. You will see the shadow disappear before you spend a dollar.
Adding Undercabinet Strip Lighting | This Old House
Frequently Asked Questions
1. How far should recessed lights be from kitchen wall over countertop?
24 to 26 inches from the wall, which aligns with the front edge of a standard 25-inch countertop.
2. Should recessed lights be centered over kitchen island or edge?
Center them over the middle of the island when there are no upper cabinets blocking the view.
3. What is the ideal spacing for recessed lights over kitchen counters?
3 to 4 feet apart on center for even overlap without dark pockets.
4. Can you have too many recessed lights in a kitchen?
Yes, spacing closer than 3 feet creates harsh overlap and wastes energy, use fewer cans plus under-cabinet LEDs.