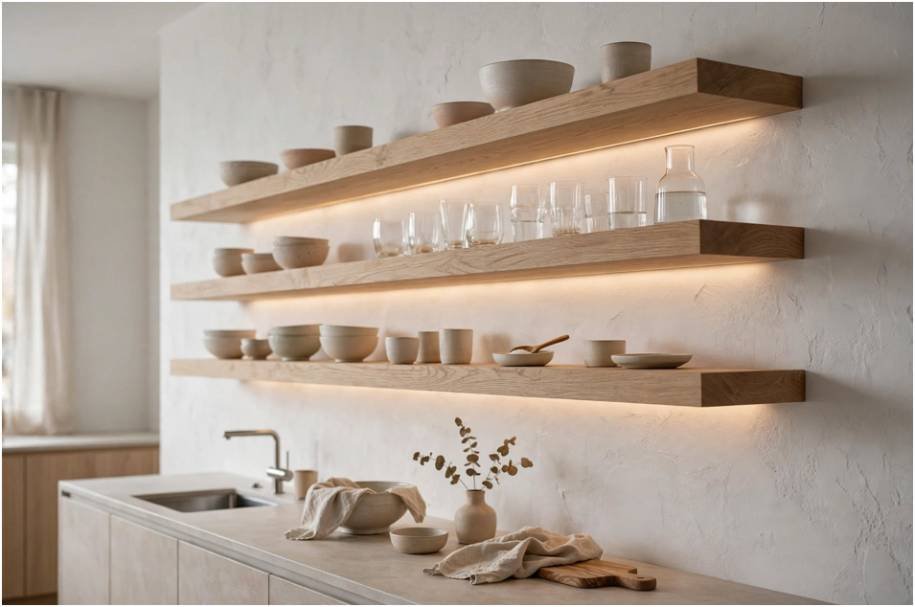
Dangling black power cords ruin the minimalist lines of floating shelves faster than clutter ever could. When I installed my first set of white oak shelves, I realized quickly that learning how to light open shelving without exposed cords requires choosing between smart wireless hardware or strategic carpentry before you drive a single screw.
You do not need to tear out an entire room of drywall to get seamless illumination. The solution comes down to three distinct methods: wireless magnetic fixtures, recessed in-wall low-voltage channels, or structural valance concealment.
The Zero-Demolition Route: Magnetic Rechargeable Lighting
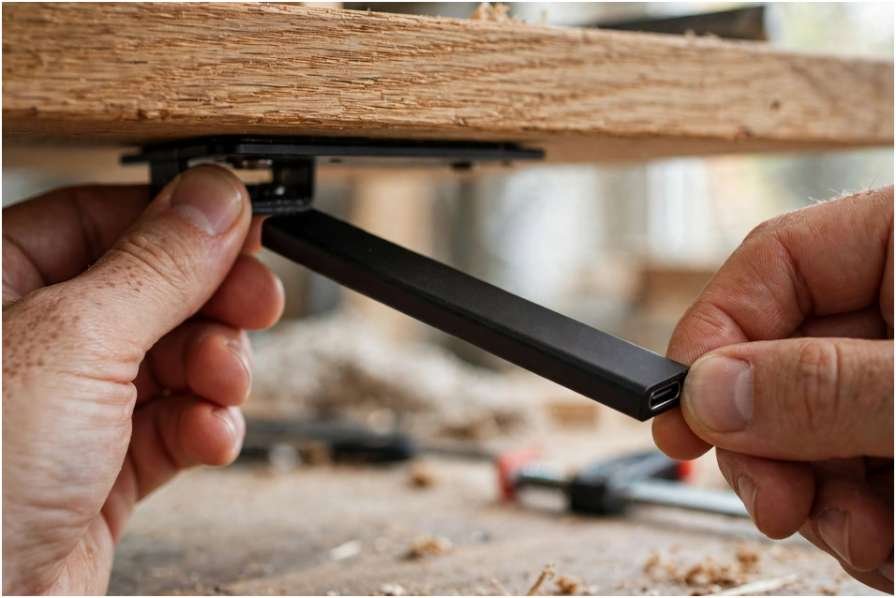
If you rent your home or have solid plaster walls that you cannot cut into, battery power is your cleanest path. Modern lithium-ion fixtures have evolved well beyond the dim, yellow puck lights of the past.
Selecting High-CRI Wireless Light Bars
Skip circular puck lights. Puck lights create harsh pools of light on the shelf surface while leaving the corners dark. Slim LED light bars distribute illumination evenly across your display items.
I look for bars with a Color Rendering Index (CRI) of 90 or higher and a warm color temperature between 2700K and 3000K. Fixtures with magnetic mounting plates stick directly to the shelf underside via adhesive strips. When the battery drains, pull the bar off the magnet, plug it into a USB-C cable, and snap it back into place when finished.
Managing the Recharging Cycle Without Frustration
Rechargeable lights fail when you forget to turn them off. Look for models equipped with passive infrared (PIR) motion sensors or unified radio-frequency (RF) remotes.
Infrared remotes require line of sight, which looks awkward when pointing upward under shelves. RF remotes communicate through solid timber. A single wall-mounted wireless switch can trigger four shelf fixtures at once, preserving battery life while mimicking a hardwired installation.
The Recessed Hardwire Method: Routing and In-Wall Low Voltage
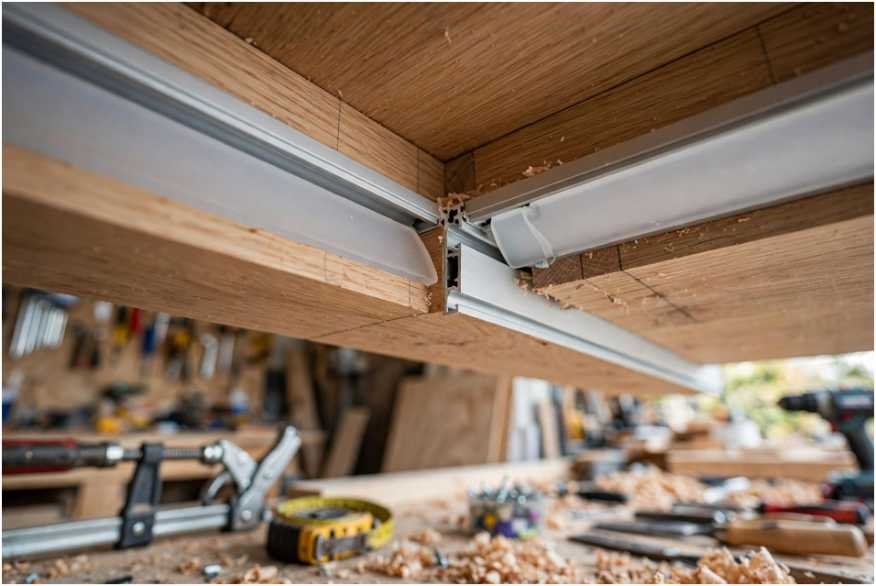
For a true floating display with zero battery maintenance, routing low-voltage conductors behind the drywall remains the gold standard.
Milling the Aluminum Channel and Diffuser
Never stick bare LED ribbon directly to raw wood. During a multi-year shop test, thermal cycling caused adhesive backing on bare strips to peel away from oak within 14 months.
I use a plunge router with an edge guide to cut a 0.7-inch-wide, 0.4-inch-deep dado along the bottom face of the shelf, roughly two inches back from the front edge. Press a slim aluminum channel into this groove.
According to woodworking joinery benchmarks documented by Family Handyman, structural integrity remains sound on shelves 1.5 inches thick or greater with this cut depth. The aluminum acts as an essential heat sink, while the frosted diffuser lens blends the individual LED diodes into an unbroken neon-like stroke.
Fishing In-Wall CL2 Wire to a Remote Driver
Drill a 5/16-inch hole through the back edge of the shelf directly where the aluminum channel ends. Align that exit point with a corresponding hole drilled into your drywall.
Run your wire through the wall cavity down to an accessible utility zone, like a lower cabinet or pantry. Safety regulations from the National Fire Protection Association (NFPA / NEC Standards) require using Class 2 (CL2) or Class 3 (CL3) in-wall rated 18/2 or 20/2 gauge wire. Never run standard 120-volt household wire or standard appliance line-cords inside a closed wall cavity.
If your shelving sits adjacent to an indoor reading corner lighting setup, you can tie this low-voltage run to the same wall switch circuit for unified control.
Sizing the Class 2 Transformer Correctly
Keep your transformer accessible. Drivers eventually fail, and burying a power supply inside a drywall wall creates a code violation and a fire hazard.
House your power supply inside a lower cabinet near an existing wall outlet. Ensure the driver carries safety verification from Underwriters Laboratories (UL Solutions) as a Class 2 power unit. Calculate your total strip wattage, then add a 20% safety margin. If your shelf LED run draws 32 watts total:
$$32 \times 1.20 = 38.4\text{ watts}$$
Select a 40-watt or 60-watt 24-volt constant-voltage driver. The 24-volt systems experience far less voltage drop than 12-volt systems over longer line runs, ensuring the top shelf stays just as bright as the bottom shelf.
The Low-Profile Camouflage Alternative
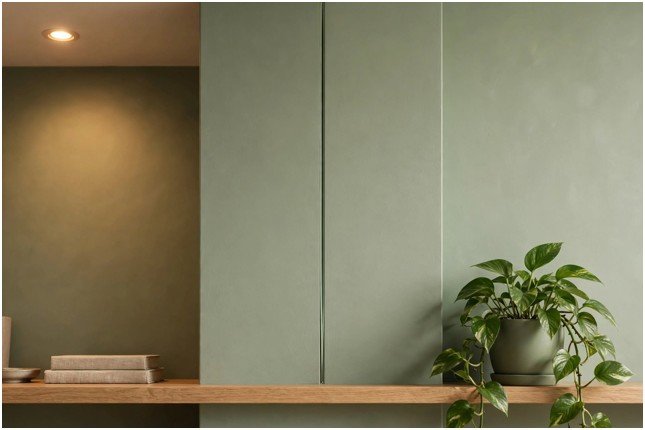
When drywall fishing is impossible and batteries are unappealing, structural concealment gives you a hardwired system with hidden wiring.
Building a Front Edge Valance Lip
Attach a simple 0.75-inch solid wood apron or drop-lip to the front bottom edge of your existing shelves. This lip drops down below the shelf plane, creating a shallow visual barrier.
Mount your ultra-thin LED strip directly behind this lip, facing toward the back wall. The lip shields the diodes from eye level, whether you are seated on a sofa or standing nearby. Combine this layout with matching wall fixtures balanced against established interior wall sconce height standards to balance the vertical sightlines of your room.
Color-Matching Corner Raceways
Run the low-voltage feed wire along the innermost back corner where the wall and shelf side meet. Encase the wire in a paintable, triangular-profile micro raceway.
Lightly sand the plastic surface with 220-grit sandpaper, apply an acrylic primer, and paint it using the exact wall color and sheen. From three feet away, the raceway reads as an architectural corner line rather than an electrical conduit.
Architectural Bus Bar Systems for Adjustable Shelves
For modular, adjustable book units with movable vertical standards, traditional wiring pinches easily. Integrated bus bar systems solve this mechanically.
Commercial hardware specialists like Häfele Architectural Hardware manufacture recessed vertical tracks that double as structural supports and electrical conductors. Low-voltage current runs invisibly through isolated copper bus strips tucked inside the vertical aluminum slots.
Special metal mounting brackets snap into the tracks, picking up 12V or 24V power automatically through friction contacts. Slide the shelf into place, and the embedded lights activate without running a single manual jumper wire between tiers.
Kill the Cords, Keep the Clean Lines
Tackling open shelf lighting without visible cables boils down to choosing between the flexibility of modern rechargeable magnetic bars or the architectural permanence of routed aluminum diffusers.
If you decide to cut drywall, remember the ironclad rule: keep your drivers ventilated and accessible, and choose 24-volt lines for consistent balance. Take your measurements, check your wall clearance, and build an installation that highlights your decor rather than your power cords.
Frequently Asked Questions About Shelf Lighting
1. Can I run a standard LED strip plug wire inside my drywall?
No, standard power supply cords lack the flame-retardant CL2/CL3 jacket ratings required by residential electrical codes for enclosed wall spaces.
2. Which color temperature works best for timber open shelves?
Warm white lighting between 2700K and 3000K enhances natural wood grain tones without casting cold blue hues over your pottery or books.
3. How do I stop dot reflections on glossy countertops below open shelves?
Mount LED tape inside deep aluminum channels fitted with milky frosted diffusers rather than clear lenses, or choose high-density COB (chip-on-board) LED tape.
4. How long do magnetic rechargeable shelf lights run on a charge?
Most lithium-ion bars last between 8 and 12 hours of continuous run-time, which translates to two to three weeks of typical evening motion-sensor use.




One thought on “How to Light Open Shelving Without Exposed Cords: A Clean Build Guide”