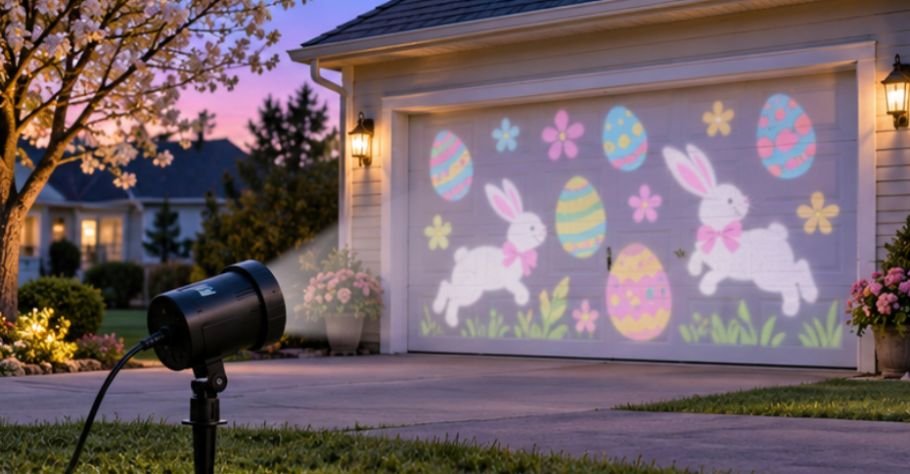
A lawn projector can cover a garage door or front wall with moving Easter bunnies in minutes, but the biggest difference between a crisp display and a blurry patch of light is usually placement—not projector price. A smart easter bunny lawn projector setup starts with three decisions: the projection surface, the distance from it, and how you will protect outdoor power connections.
For many consumer projectors, roughly 10 to 30 feet is a practical starting range. The exact position depends on the lens, image size, brightness, and manufacturer’s instructions, so treat that distance as a setup zone rather than a fixed rule.
Start With the Projection Surface, Not the Projector
Before pushing a stake into the lawn, stand where guests will view the display. A light-colored garage door, siding wall, fence panel, or large front window usually gives bunny shapes more contrast than dark brick, textured stone, shrubs, or uneven landscaping.
The flatter the surface, the easier it is to get a recognizable image. Also watch the angle: if the projector sits far to one side, circles can look oval and bunny silhouettes can stretch. A more direct, centered angle usually looks cleaner.
How Far Away Should an Easter Lawn Projector Be?
Distance controls both image size and brightness. Moving farther back usually enlarges the design, but spreads the light over a larger area, which can make the picture look dimmer.
Use this quick test after sunset:
- Start about 10 feet from the target.
- Turn on the projector and center the image.
- Move backward in 2- to 3-foot increments.
- Stop when the display fills the space without looking weak or soft.
- Fine-tune focus and tilt only after the distance looks right.
| Setup condition | What usually works best |
| Small porch wall | Shorter distance, tighter image |
| Standard garage door | Mid-range distance, centered angle |
| Large exterior wall | Greater distance if brightness holds |
| Dark or textured wall | Shorter distance for stronger contrast |
| Window display | Moderate distance with reflections minimized |
Build the Easter Bunny Lawn Projector Setup in the Right Order
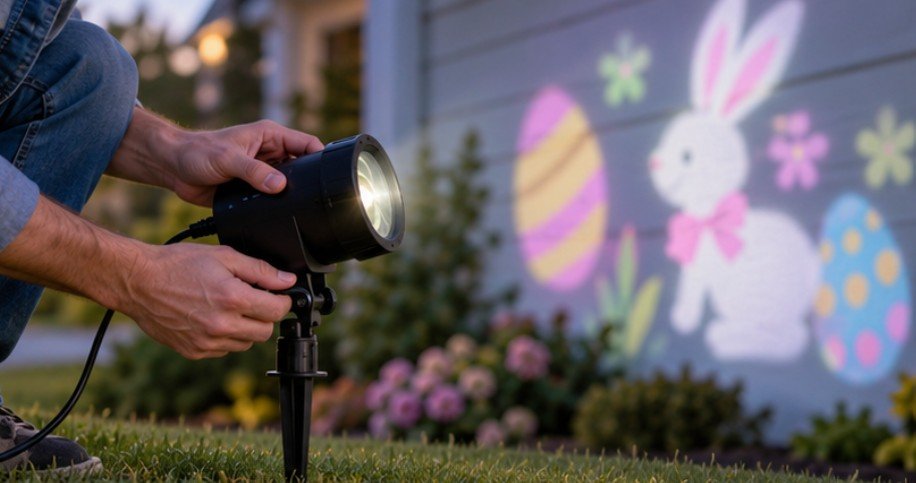
The fastest setup is not simply “stake, plug in, done.” A better sequence reduces repeat adjustments.
1. Assemble the Mount
Attach the supplied ground stake for lawn installation. If the unit includes a round base, use it on concrete, a porch, or another stable flat surface. Push a stake firmly enough that the projector does not wobble when you adjust the head.
2. Insert the Easter Slide or Pattern
If the projector uses interchangeable slides, install the bunny, egg, chick, carrot, or spring-themed film before final aiming. Different slides can frame the image differently, so changing one later may require another alignment.
3. Aim Before You Focus
Point the projector at the center of the surface, then adjust the vertical angle. Only after the image is centered should you use the focus ring, if the model has one.
4. Check It From the Street
Walk to the sidewalk or driveway and view the display from the same direction visitors will see it. This often reveals skewing, glare, or light spilling onto a neighbor’s property.
Outdoor Electrical Safety Matters More Than Decoration
Spring lawns can be damp from irrigation, dew, and rain, so power setup deserves as much attention as the visual effect.
The U.S. Consumer Product Safety Commission advises using outdoor-certified lighting and GFCI-protected receptacles for outdoor decorative lighting, while also matching extension cords to their intended use.
The Electrical Safety Foundation International recommends outdoor-rated, weather-resistant extension cords, checking cords for damage, and keeping them out of high-traffic areas.
Mississippi State University Extension explains that outdoor cords use protective insulation designed to better tolerate moisture, temperature changes, and sunlight.
In practice, keep plug connections elevated and away from puddles, never use a damaged cord, and do not run power where children or guests will cross it.
For other temporary outdoor lighting installations, how to hang wedding canopy lights provides practical advice on planning power routes, protecting connections, and keeping electrical cords out of high-traffic areas.
Make the Image Look Better Without Buying a New Projector
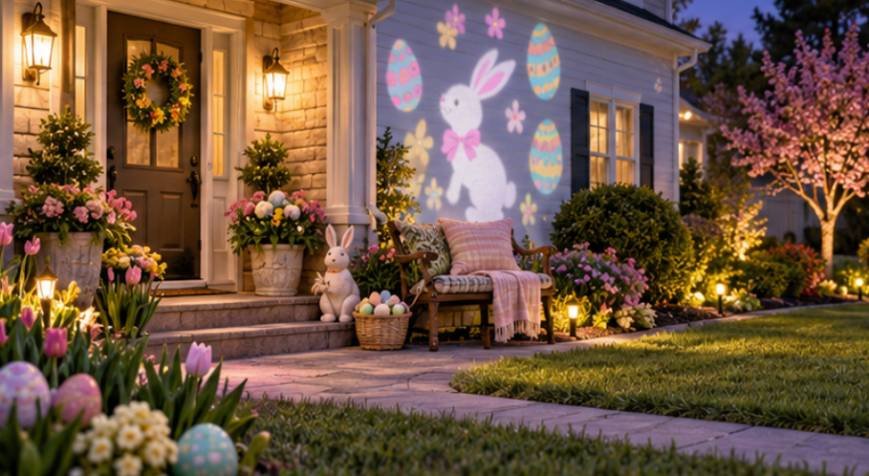
If the image seems weak, turn off nearby porch or landscape lights during your test. If the bunny suddenly looks clearer, you have a contrast problem rather than a projector problem.
The same approach can improve other seasonal displays, and how to light a holiday wreath outdoors explains how to use outdoor lighting to highlight a decorative focal point without overwhelming the surrounding area.
The U.S. Department of Energy notes that exterior lighting works best when light is used efficiently and controlled appropriately; timers and controls can reduce unnecessary operating time. That principle fits seasonal displays well. Run the projector only during evening viewing hours instead of leaving it on overnight.
Avoid Light Spill and Neighbor Complaints
Animated projectors can throw moving light above the roofline, into neighboring windows, or toward traffic. Before finalizing the angle, confirm that the full pattern lands on your intended surface.
DarkSky International recommends using outdoor lighting only where and when it is needed and limiting light trespass. For an Easter display, that usually means aiming lower, narrowing the projection area, and using a timer. These adjustments often make the display look more polished, too.
Troubleshooting a Blurry, Faint, or Crooked Projection
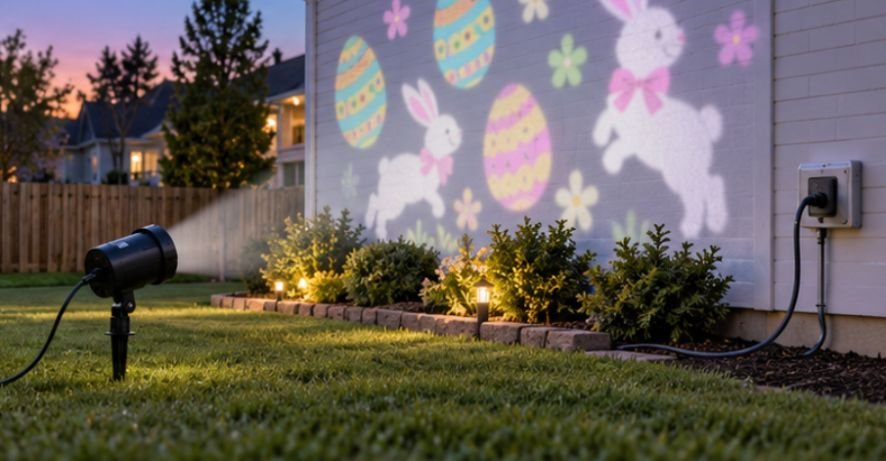
If the image is blurry, move slightly closer, re-center the projector, and adjust focus after the image size is set. If the pattern is faint, reduce competing light or try a lighter-colored surface.
If one side looks stretched, reposition the projector so it faces the wall more directly. If wind shifts the image, reset the ground stake in firmer soil rather than over-tightening the head.
Frequently Asked Questions
1. Can I leave an Easter bunny lawn projector outside in the rain?
Only if the projector, adapter, and connections are specifically rated for outdoor use and installed according to the manufacturer’s instructions. Keep electrical connections away from standing water.
2. How far should an Easter projector be from the house?
Start around 10 feet and move backward gradually. Many residential setups work within roughly 10 to 30 feet, but the correct distance depends on the projector’s optics and recommended operating range.
3. Why is my Easter bunny projection blurry?
The projector may be too far away, angled sharply, or out of focus. Re-center it, adjust the distance, then fine-tune the focus after the image size is correct.
4. Can I use an indoor extension cord for my lawn projector?
No. Use an extension cord specifically rated for outdoor use and follow the projector’s electrical requirements.
A Better Display Starts With Placement
A good easter bunny lawn projector setup does not need elaborate hardware. It needs a suitable surface, a sensible projection distance, a stable mount, protected outdoor power, and one final check from the viewer’s perspective.
Start close, move back until the pattern fills the space, and stop before brightness falls off. Then secure the projector, sharpen the image, control spill, and put the display on a timer. The result is more polished, easier to maintain through the Easter season, and less likely to create trip, weather, or glare problems around your home.