I started noticing how often I reached for my phone to turn lights on after leaving a room, especially when my hands were full or I was already comfortable on the couch. That made smart lighting feel less like a novelty and more like a practical upgrade.
I also realized that replacing a regular wall switch can be more complicated than buying a smart device and connecting a few wires. The circuit, switch type, fixture, and smart-home system all matter. Getting those details right makes the upgrade smoother and avoids incompatible hardware.
Why Replace a Regular Switch With a Smart One?
A smart switch adds connected control without removing the familiar wall switch. Depending on the model, you can control lights from a phone, create schedules, use voice commands, or build routines around other devices. Some switches connect over Wi-Fi, while others use Zigbee or Z-Wave and may require a hub.
The advantage is that the switch controls the circuit itself. That makes it useful when one fixture contains several bulbs or when you want physical control to remain available.
Check the Existing Wiring First
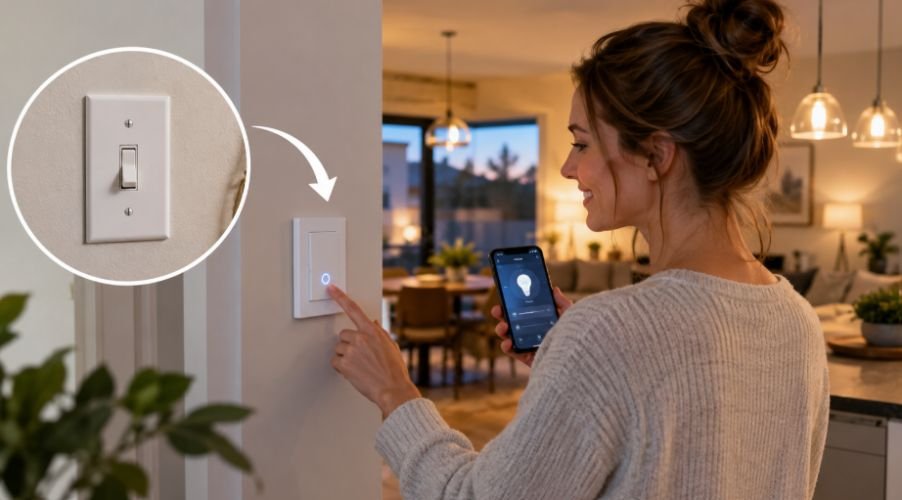
Before buying a smart switch, identify what is already inside the electrical box. The most important question is whether a neutral wire is available. Many smart switches need one to power their electronics, while some models are designed for installations without a neutral connection.
Do not assume wire color alone tells you what each conductor does. Configurations vary, particularly in older homes and three-way circuits. Determine whether the existing switch is single-pole or three-way. A single-pole switch controls a light from one location. A three-way setup controls the same light from two locations.
Check the smart switch’s electrical rating and compatibility with your fixture. LED loads and dimmable fixtures can have specific requirements. The manufacturer’s instructions should take priority over actual wiring.
Converting Regular Light Switches to Smart Switches Safely
Electrical work should never be treated casually. Turn off the appropriate circuit breaker before removing the existing switch, then verify that the circuit is de-energized with an appropriate voltage tester. A switch being off does not prove the box is safe.
Once power is confirmed off, remove the wall plate and carefully pull the existing switch forward. Before disconnecting anything, take a clear photo and identify the wires according to the manufacturer’s instructions.
Smart switches commonly have connections for line, load, ground, and sometimes neutral or traveler conductors. Do not connect wires simply because their colors appear to match. Follow the wiring diagram supplied with the switch.
After the connections are complete, make sure connectors are secure and no bare conductor is exposed. Position the wiring inside the box, mount the switch, and restore power. Test the physical control first, then continue with setup.
What About Three-Way Lighting?
Three-way installations deserve extra attention because two switches operate the same light. A compatible smart switch may work with the existing arrangement, but requirements vary. Some systems use a companion switch or require specific wiring.
A three-way circuit should not be treated like a standard single-pole replacement. Take a photo, label relevant conductors, and check the product documentation before making changes. If the wiring does not match the diagram or you cannot confidently identify the circuit, stop and call a licensed electrician.
Make Sure the Fixture Is Ready Too
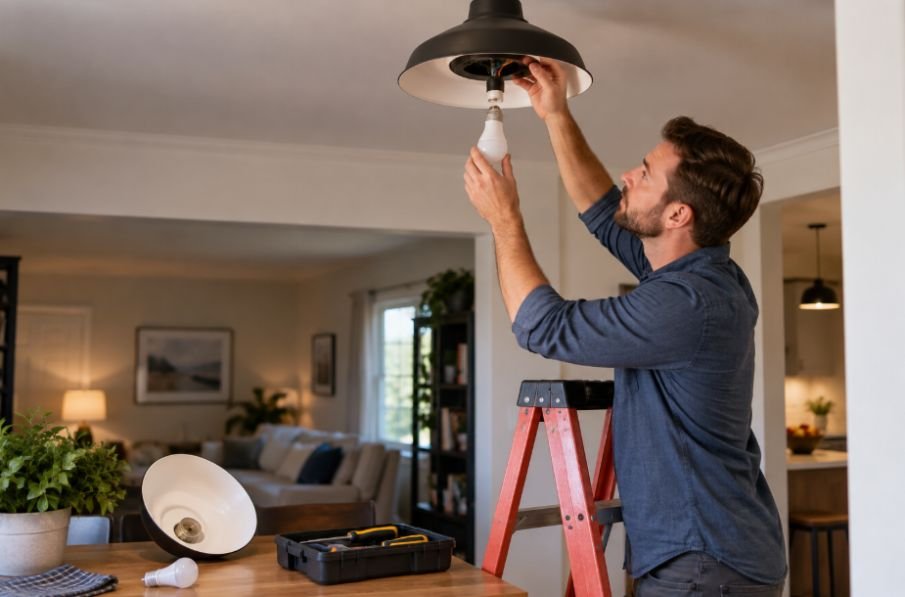
A new smart switch cannot fix a lighting fixture that already has a problem. Flickering, buzzing, overheating, or repeated failures may point to the fixture, bulb, driver, or circuit.
This is where when to repair versus replace an LED fixture becomes a useful consideration. If the fixture is aging or incompatible with the desired control method, replacing it may make more sense than forcing a new smart switch onto an unsuitable setup.
Dimming requires extra care. A switch designed for dimmable LEDs may have different load limits from one intended for simple on-and-off control. Check the specifications and total load before installation.
Connect the Switch to Your Smart Home
Once the switch operates correctly from the wall, download the manufacturer’s companion app, put the device into pairing mode, and follow the instructions for connecting it to your home network.
Some products connect directly to Wi-Fi, while others communicate through a hub. Your choice can affect device capacity, automations, and supported smart-home platforms.
For homeowners planning broader app controlled lighting installation, a smart switch can become part of a larger system. Lights can be grouped, scheduled, or integrated with voice assistants. Check compatibility before buying several switches so everything works within the same ecosystem.
When Professional Installation Makes Sense
DIY replacement may be reasonable for someone who understands household electrical systems and has a clearly compatible setup. It becomes different when the box contains unfamiliar wiring, damaged components, limited space, or an unusual circuit.
Older homes can present surprises, and manufacturer instructions are not interchangeable between products. If anything conflicts with the installation diagram, do not improvise. Electrical mistakes can cause shock, fire, equipment damage, or code problems.
Frequently Asked Questions
1. Can any regular light switch be replaced with a smart switch?
No. Compatibility depends on the wiring, switch type, electrical rating, fixture, and smart switch requirements. Some models require a neutral wire.
2. Do smart switches always need a neutral wire?
No. Many do, but some are specifically designed for no-neutral installations. Verify the requirements for your model.
3. Can a smart switch work with LED lights?
Often, yes. The switch must support the fixture and its load. Dimmable LEDs require a compatible dimmer, and some combinations can cause flickering.
4. Can I use a smart switch in a three-way circuit?
Some can. The installation may require a compatible companion switch or specific wiring. Check the manufacturer’s documentation before replacing an existing switch.
A Smarter Upgrade Starts With the Existing Setup
Smart lighting is appealing, but the best installations begin with what is already in the wall. Checking the wiring, switch configuration, fixture compatibility, and smart-home ecosystem first can prevent unnecessary purchases and frustrating installation attempts. It creates a safer path to automation without sacrificing familiar wall control.
A smart switch should make everyday lighting easier, not make the electrical system harder to understand. When compatibility comes first, the technology can quietly do its job while the home still feels completely familiar.